

You’ve got a carry-on, a 12-hour flight, and four days of walking in a city where the pavements are 400 years old. Your shoes are the one thing you can’t fix once you’re there. Buy wrong and you’ll spend the trip hunting for a pharmacy and a plaster.
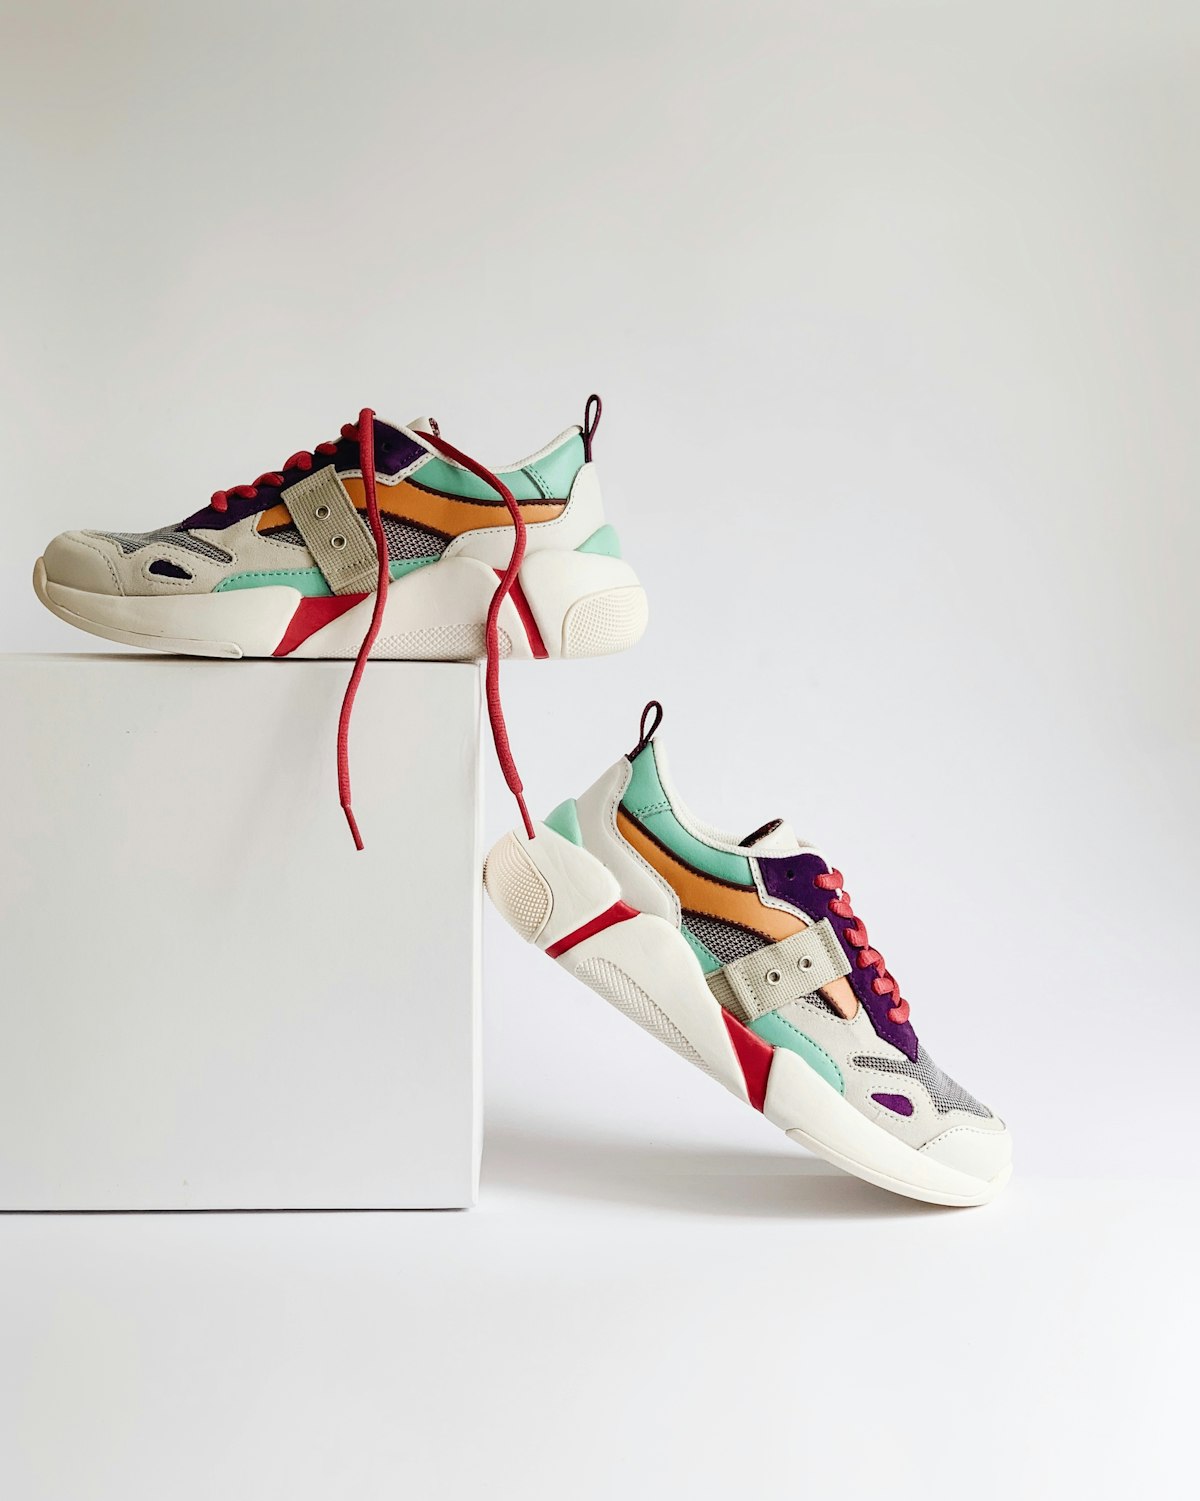
The best walking shoes for travelling women are not the softest pair in the shop. They’re the pair that weighs under 400g each, dries overnight, grips wet stone, and still looks acceptable next to a dress at dinner. That’s a narrower brief than it sounds, and most travel shoe lists ignore half of it.
Here’s what to pack, how to test it before you leave, and the two-pair setup that covers a two-week trip without checking a bag.
Weight, drying time, and grip: the three tests
Before anything else, weigh the shoe. A women’s walking shoe in a size 38 should come in around 260 to 340g per shoe. Above 400g and you’ll feel it on day three, especially on stairs and on those long airport walks where the moving walkway is broken.
Drying time is the one nobody tests until it’s raining. Take the insole out and look at the lining. Mesh and open-cell foam dry in about six hours on a radiator or in front of a hotel air conditioner. Leather-lined, padded, waterproof-membrane shoes take 24 hours or more, and a wet membrane shoe is a cold, heavy shoe for the rest of the trip.
Grip is where cheap travel shoes fall apart. Pick the shoe up and look at the outsole. You want 3 to 4mm of tread depth with a pattern that has actual edges, not a flat slab with a logo pressed into it. Smooth rubber on wet cobblestone behaves like a bar of soap. That’s not an exaggeration; ask anyone who’s walked down Montmartre in the rain.
Then do the flex test. Bend the shoe at the ball. It should bend where your toes bend, not in the middle of the arch. A shoe that folds in half at the arch has no shank, which means your foot does all the work on hard pavements.
When you’re comparing walking shoes for travelling women online, this is the one place the spec sheet is actually useful. Weight, tread depth and drop are all listed. The rest, you have to see in a shop or trust the reviews.
The two-pair setup that covers almost any trip
One pair, if you’re travelling for a weekend. Two, if it’s longer than five days. That’s the rule, and it’s about recovery as much as variety: alternating shoes lets the midsole foam decompress and the lining dry out between wears.
Pair one is the workhorse. Neutral or mild support, mesh upper, 8 to 10mm drop, dark enough to hide pavement grime. This is the pair for flights, trains, museums, and the day you walk 22,000 steps because you got lost. It’s also the part of the brief that most best walking shoes for travelling women lists skip entirely, because “supportive” is easier to write than “340g and dries overnight”.
- Weight under 340g per shoe
- Removable insole so you can dry it separately
- Round or wide toe box for swelling on long flights
- Rubber outsole with visible tread blocks
Pair two is the one that gets you into a restaurant. A low block heel, a closed toe, and a colour that works with everything you packed. It weighs more and takes more space, so it’s the pair you wear on the plane rather than pack. There’s a good argument for a grey slip-on as the second pair, because grey reads as both casual and smart depending on what you wear it with.
If you’re going somewhere hot and wet, add a pair of flat sandals and drop the block heels. If you’re going somewhere cold, swap pair two for an ankle boot with a lug sole. Same logic, different shoe.
Flying: swelling, security, and the 12-hour problem
Your feet swell in the air. Cabin pressure and sitting still for eight hours push fluid into the lower legs, and most people gain half a size by the time they land. That’s why you should never fly in a shoe that’s already snug.
Wear the walking pair on the plane, laced loosely, with thin socks. If you’re on a long-haul flight, take the shoes off once you’re airborne and put them back on 40 minutes before landing, before the swelling peaks. Walk the aisle every couple of hours if you can. It’s the single most useful thing you can do for your feet on a long flight, and it costs nothing.
Security is a smaller annoyance but worth planning for. Slip-on styles save you two minutes at every checkpoint, and if you’re connecting through three airports in a day, that adds up. Laces are fine, just don’t wear the pair with the ankle strap and four buckles.
One packing note: put your spare pair of socks in your carry-on, not your checked bag. If your luggage goes missing, you can at least change your socks after 14 hours in the same pair.
Compression socks are worth considering on anything over six hours. They don’t need to be medical grade, and a 15 to 20mmHg pair costs less than an airport sandwich. Several airlines’ own travel health pages recommend them for long-haul, and the difference in how your legs feel on landing is noticeable.
Packing them without crushing them
Shoes take up the most space in a carry-on, and how you pack them decides whether you get two pairs or one. The trick is to pack inside them rather than around them.
- Roll socks, underwear and chargers into the shoes, one bundle per shoe.
- Put the bulkiest pair at the bottom, heel against the case wall, sole facing out.
- Pack the dress pair flat with the toes pointing to opposite corners.
That single habit usually frees up a third of a small case. It also keeps the shoe shape intact, which a soft-sided bag won’t do on its own.
Use shoe bags, not plastic. Plastic traps moisture, and a shoe that goes into the case damp after a rainy day will come out smelling like a cellar. A cotton drawstring bag lets it breathe and keeps the dirt off your clothes. If you don’t have one, a hotel shower cap works surprisingly well for a single pair.
For the walking pair, take the insoles out before packing and put them in a side pocket. It lets both the shoe and the insole dry, and the shoe packs flatter. On the way home, do the same thing in reverse: insoles out for the flight, back in when you land.
Cobblestones, wet stone, and old pavements
European city centres are the hardest surface most travellers walk on, and they punish the wrong sole. Polished granite setts are slippery when dry and treacherous when wet. Marble pavements in Italian squares are worse.
What works: a softer rubber compound, a tread pattern with horizontal edges, and a sole that’s not too thick. A very tall, very stiff platform gives you less feedback about what’s under you, and that’s how people roll an ankle on an uneven kerb. Somewhere between 20mm and 35mm of stack height is a sensible middle.
What doesn’t work: foam soles with a smooth bottom, which is most of the fashion sneaker market, and anything with a leather outsole. Save those for the restaurant.
Also think about the toe. Cobbles catch a pointed toe and trip you. A slightly rounded toe with a rubber bumper at the front survives a trip far better than a sharp point, and it doesn’t get scuffed on the first day.
If you’re going somewhere with real weather, check the tread before you go and consider a spray-on water repellent. It won’t make a mesh shoe waterproof, but it buys you 20 minutes in a shower and keeps the grime from soaking in.
One more surface nobody mentions: polished hotel lobbies and airport terminals. Glossy tile is slicker than wet cobblestone, and it’s where most people slip in flat shoes with worn tread. If your current pair has tread worn down to 1mm, replace them before you fly. Worn rubber feels fine right up until it doesn’t.
Break them in two weeks before you fly
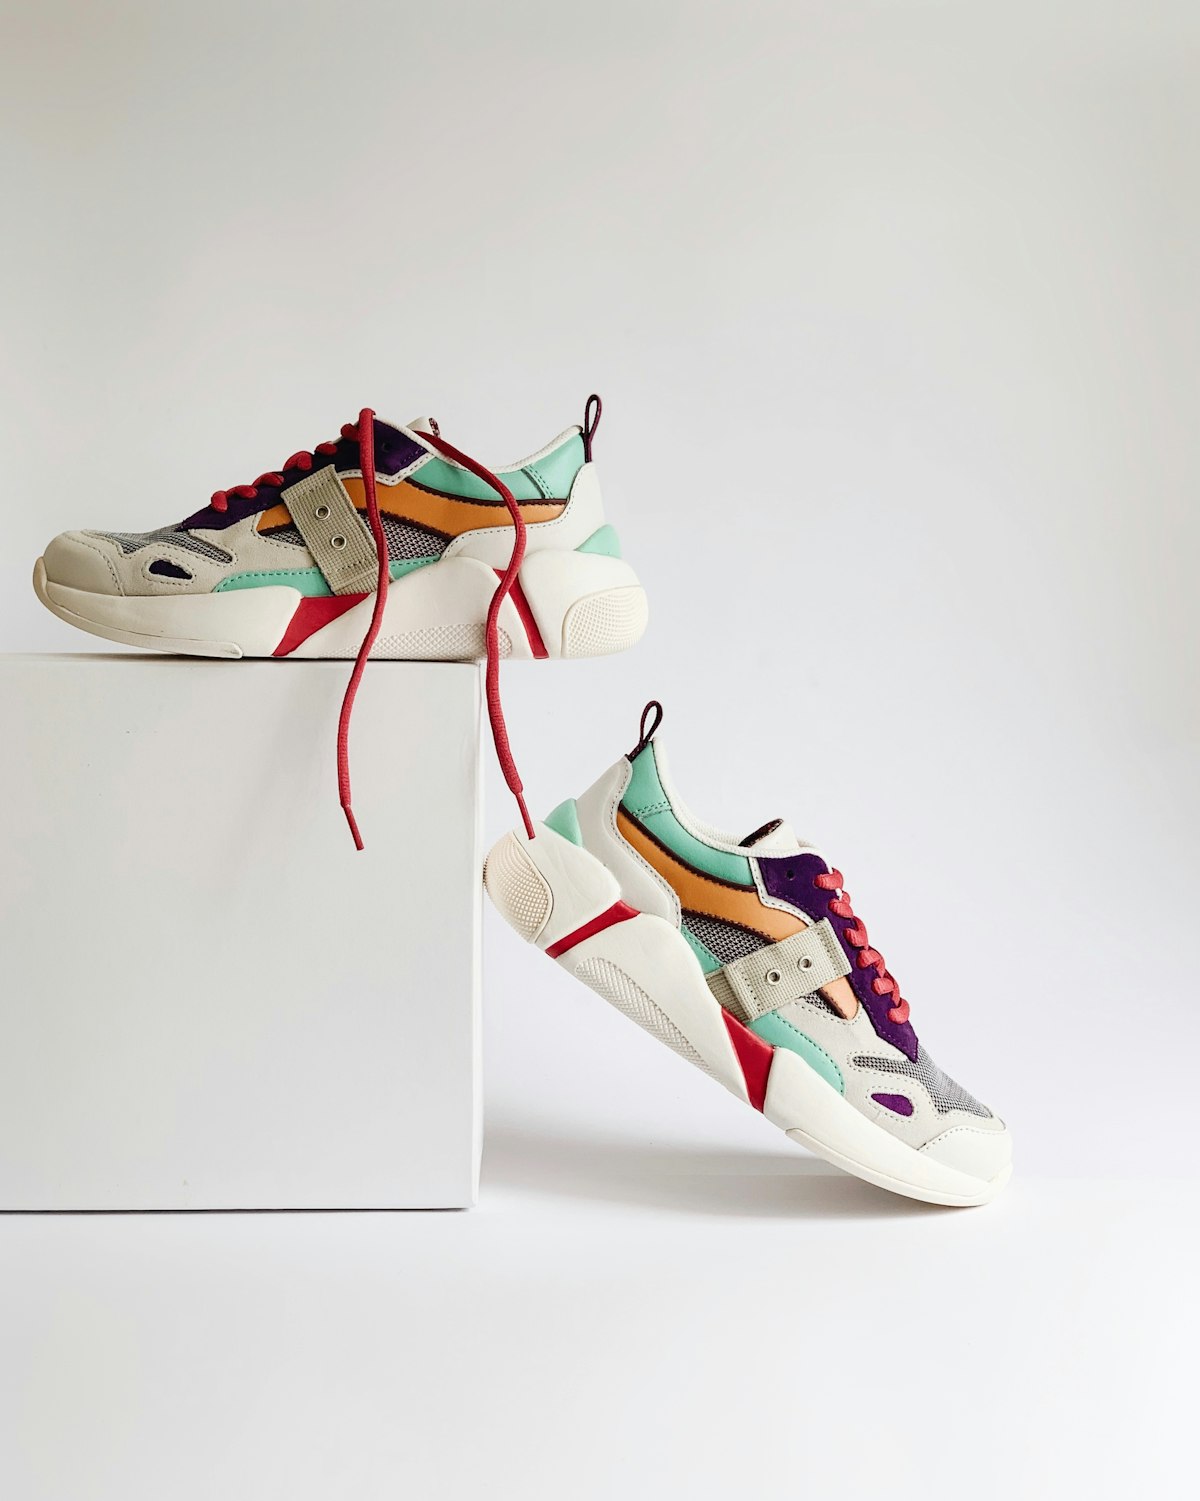
New shoes on a trip is the classic mistake, and it’s expensive. A shoe that feels fine for 20 minutes in the shop can shred your heel at kilometre four, because the flex points only show up after the upper has warmed and softened.
So buy two to three weeks out and wear them properly:
- Day one: 20 minutes around the house, with the socks you’ll travel in.
- Day three: a one-mile walk on pavement.
- Day seven: your normal daily mileage, whatever that is.
- Day ten: a two-hour continuous walk, ideally on hard ground.
If a hot spot appears at any point, deal with it then. A heel grip, a different lacing pattern, or a thin insole usually fixes it. If the shoe still rubs after ten days, it’s the wrong shoe, and you’ve still got time to return it.
Blisters are the thing that ruins trips, and they’re almost always a fit problem rather than a distance problem. If you do get one, treat it early rather than walking through it, and follow a basic blister treatment routine instead of improvising with hotel plasters.
One more prep job: measure your foot properly before you buy, not just your usual size. A proper Brannock measurement takes two minutes at most shoe shops and gives you both length and width, which is more than the size on your old pair tells you.
The dinner problem: one pair that does both
The hardest part of packing light is the evening. You want something that doesn’t look like a gym shoe next to a dress, and you don’t want to carry a second pair for four hours of wear.
The compromise that works best is a low, chunky-heeled shoe with a closed toe in a neutral colour. It reads as smart enough for most restaurants and it’s stable enough to walk a mile in. Something like a pair of thick heels that don’t tire your feet is the sort of thing that earns its luggage space, because you can wear it from the museum to dinner without changing.
If you’d rather have something softer, a woven leather flat in white or cream does the same job with less height. These woven white leather shoes are light and pack flat, which matters when you’re living out of a carry-on for two weeks.
One warning about white: it shows every scuff from a wet pavement, and you’ll be looking at those scuffs for the rest of the trip. If you’re going somewhere rainy, take the darker pair.
When to pack a third pair
Three pairs is usually too many. The exception is a trip that mixes two very different surfaces, like a city break followed by a hiking day, or a wedding plus a week of walking. In those cases, add a specialised pair and drop something else from the bag.
Hiking on a city trip is a common trap. Trail shoes have deep lugs that feel clumsy on pavement and can damage indoor floors, while city walking shoes have shallow tread that slides on mud. If you’re doing both, take the walking pair and accept that one hiking day will be a bit slippery, or plan the hike as a proper day out with rented boots.
The other exception is a long trip with a lot of formal events. Then it’s worth packing the dress pair properly: stuff the toes with socks, put each shoe in a cloth bag, and put them at the bottom of the case where nothing presses on them.
And if the trip is longer than three weeks, stop optimising. Two pairs that both fit well beat three pairs where one is a compromise, and you can buy a cheap pair on the road if something falls apart. A shoe shop in any mid-size city will have a neutral walking shoe in your size for less than the price of a checked bag.
Start with the walking shoes category and check weight and tread before you look at anything else. For hot-weather trips, this piece on summer sneakers that keep feet dry at 34 degrees covers the breathability side in more detail.
Pack the pair you can walk 20,000 steps in, wear them on the plane, and leave the rest at home. Your feet will send you a postcard.
