

The insoles sit on the hall table for a week before you admit the problem. They work in your trainers. They work in the walking shoes you wear at weekends. They do not work in the one pair you need for work, because the moment you drop them in, your heel rides up and your toes press against the front.
That’s not a shoe problem or an insole problem. It’s a volume problem, and almost nobody selling shoes will tell you the number that fixes it.
Orthotic dress shoes for women are the least glamorous search in footwear and one of the most useful. What follows is the fitting method I use, in the order I’d use it, with the measurements that actually decide whether a pair will work.
Start with the insole, not the shoe
Most people shop the other way round: find a shoe they like, then try to make their insert fit. That’s backwards, and it’s why so many pairs end up in a cupboard with the insole still inside them.
Measure your insert first. Length, width at the widest point, and thickness at the heel. Write those three numbers on your phone. Then shop for shoes that can hold them.
Here’s the thing nobody mentions: a full-length orthotic adds somewhere between 4mm and 8mm of vertical volume depending on the heel cup. That’s roughly a third of a shoe size, but it doesn’t behave like a third of a size. It lifts your heel out of the heel counter and pushes your forefoot forward at the same time, so the shoe gets tighter in two directions at once.
This is also why your trainers work. Athletic shoes are built with a removable sock liner and a deep cavity underneath it, so there’s already a space designed to accept extra volume. Dress shoes almost never have that cavity.
Start by deciding whether you need full-length support or just a heel and arch shell. A three-quarter insole takes less volume, works in more shoes, and is often enough for arch support alone. Full-length is better if your orthotic was prescribed for the whole foot.
There’s a quick test for volume that costs nothing. Slide your insole into a shoe you already own and stand on it for two minutes. If your toes feel crowded, the shoe has no depth to spare. If your heel lifts, the counter is too shallow. If both happen, no adjustment will save that pair and you should stop trying to make it work.
Write down which shoes in your wardrobe already pass that test. Those are your reference pairs, and matching their depth is the whole job when you shop for new ones.

Depth is the number nobody quotes
Internal depth is the vertical space from the insole to the top of the shoe’s opening. It’s the single most important measurement for orthotic dress shoes, and it’s almost never listed in a product description.
You can estimate it in the shop with a strip of card. Cut a piece about 30mm wide, slide it in until it hits the toe end, and mark where the top edge of the shoe sits. That gives you a depth reading you can compare across pairs, which is more useful than any size chart.
As a rough guide, a typical women’s dress shoe has 55mm to 65mm of internal depth at the instep. Adding a 6mm insole effectively consumes that. If the shoe was already touching the top of your foot before the insert went in, it will press hard afterwards.
What you’re looking for is a shoe with a high throat, a rounded rather than flat topline, and no decorative seam directly across the instep. A seam over the top of the foot is fine on a bare foot and unbearable with an insert pushing your foot up against it.
Suede and soft leather help here. They give where a patent or a stiff corrected-grain leather won’t. A suede commuter shoe with a soft sole will accommodate 5mm of extra volume in a way that a structured court shoe simply can’t, and it does it without looking like a medical product.
If you’re shopping online and can’t measure, use the photographs. Look at the topline from the side: a shoe with a high, rounded throat will take an insert, and a flat, low-cut one won’t. Look at the tongue too, because a tongue stitched along both sides has no give at all.
One more shortcut. Slip-on styles with an elasticated panel will usually swallow an insole, because the elastic absorbs the extra volume. Lace-ups give you adjustment. Anything with a fixed topline and no give will fight you.
The heel counter matters more than the arch
Everyone talks about arch support and almost nobody talks about the heel counter, which is the stiffened cup at the back of the shoe. With an insole in place, your heel sits higher and the counter grips a narrower part of your foot, so a weak counter lets the whole shoe rotate as you walk.
Press the back of the shoe between thumb and forefinger. It should feel firm, with a little give at the very top edge. If it collapses completely, the shoe won’t hold your heel once the insole lifts it, and you’ll get the slipping sensation that makes people think the size is wrong.
A firm counter also keeps the orthotic itself from migrating. Nothing is more annoying than a heel cup that slides forward inside the shoe after twenty minutes of walking. If yours does that, the fix is usually a thin double-sided pad under the insole rather than a new pair of shoes.
Check the topline too. The padding around the ankle opening should be thick enough to stop the counter’s top edge from digging in. When your heel sits 6mm higher, that edge lands on a different part of your ankle, and a shoe that was comfortable before can suddenly rub.
There’s also the question of when the counter softens. A leather-lined heel cup takes about two months of regular wear to mould to your foot, and during that time it will feel stiffer than you’d like. That’s normal. What isn’t normal is a counter that starts soft, because it will only get softer and stop doing its job entirely.
If you wear an ankle strap, put the shoe on with the insole first and then fasten the strap. Straps set for a bare foot will be too loose once your heel is lifted, and a loose strap is worse than no strap because it lets the foot slide sideways while feeling secure.
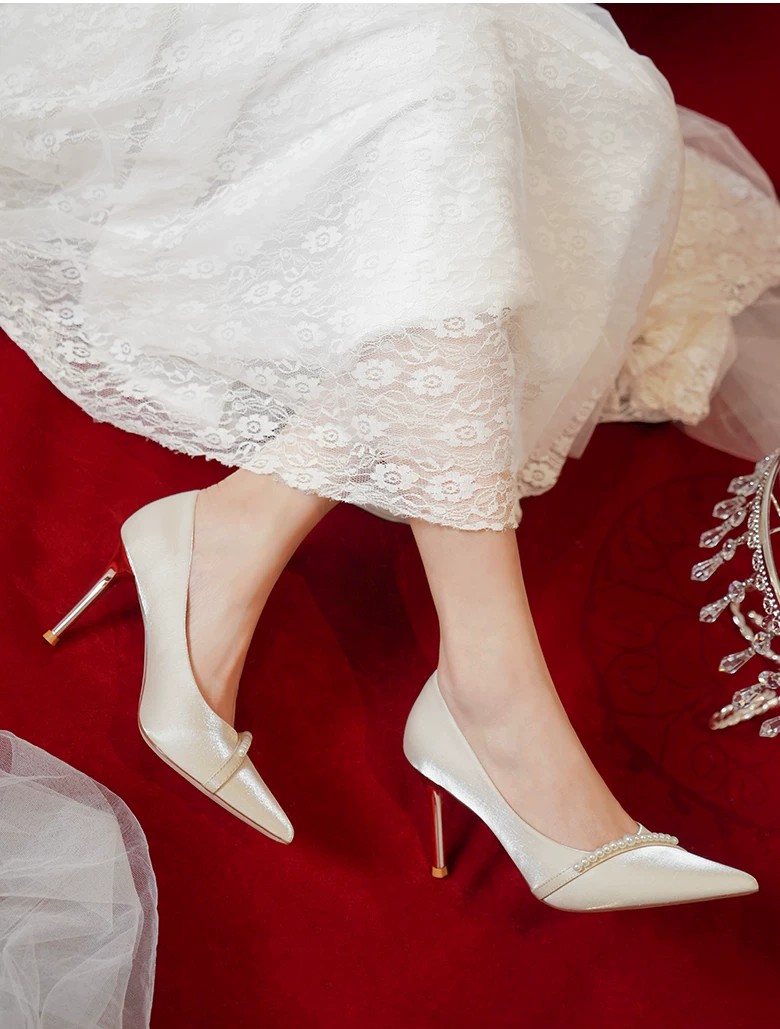
Heel height limits once you add an insole
This is where most people give up and assume dress shoes are impossible. They aren’t, but there’s a ceiling.
The practical limit for a shoe that will hold a full-length orthotic is around 40mm, and 30mm is more comfortable. Above 50mm, the insole starts to slide forward inside the shoe because the footbed is angled, and your toes take load they shouldn’t. That’s the point where people report the orthotic “not working” when the real issue is the shoe’s pitch.
A block heel at 35mm to 40mm works because the platform under the forefoot is usually thicker too, which keeps the angle between heel and toe manageable. A stiletto at the same height has almost no forefoot platform, so the insole tips forward.
- 0 to 25mm: easiest. Almost any insole fits.
- 25 to 40mm: workable with a full-length insert if the shoe has depth.
- 40 to 55mm: three-quarter insert only, and expect the heel cup to feel different.
- Above 55mm: don’t bother with a full orthotic. Choose a shoe with a built-in cushioned footbed instead.
If heel height is non-negotiable for work, look at wedges. A wedge keeps the whole foot closer to level than a stiletto of the same height, and the footbed is usually moulded rather than flat.
One thing worth trying before you give up on a pair: take the insole out and compare the shoe’s own footbed to a flat surface. Many dress shoes have a slight built-in arch bump, and adding your insert on top doubles it. If that’s what makes the shoe painful, a thinner insert or a pair with a completely flat interior will often solve the problem.
And don’t rule out a low, wide-heeled shoe just because it looks sensible. A 30mm block with a good counter and a removable footbed is more formal than a trainer and more wearable than a court shoe, which is why it ends up being the pair people reach for on the days that matter.
What to do with the orthotics you already own
Don’t buy new ones. Almost every pair can be moved between shoes if you handle the volume correctly.
Trim, but only the forefoot. A full-length insole that’s slightly too long will buckle under your arch, which creates a ridge exactly where you don’t want one. Take 2mm off the toe end at a time with sharp scissors, check the fit, and repeat. Never trim the heel end, because the heel cup is the part doing the work.
Then deal with the friction. Insoles move inside dress shoes far more than inside trainers because the interior is smooth leather rather than mesh. A strip of double-sided tape under the forefoot solves it, and so does a spray adhesive designed for insoles if you’re committed to one pair.
If your orthotic is rigid, add a thin cushion layer on top of it. Rigid shells are supportive and unforgiving, and a 2mm foam cover changes how they feel over an eight-hour day without affecting the correction.
Rotate between two pairs if you can. Orthotic dress shoes for women wear out faster at the forefoot because the shell concentrates pressure there, and alternating gives the upper time to dry out and recover its shape.
Keep the original footbed. Every shoe with a removable insole comes with a thin foam liner, and that liner is the thing that makes the shoe usable on a day you leave the orthotic at home. Put it in a drawer, not the bin, because the day you need it will arrive about a month after you throw it away.
Check the insole every few months as well. Foam compresses and shells crack, and an orthotic that has stopped doing its job is worse than none at all, since you keep expecting the support that is no longer there.
The best orthotic dress shoes for women are the ones you forget are a compromise. If a pair needs three adjustments, two pads and a specific sock to feel acceptable, it isn’t the shoe for you, no matter how good it looks in the box.
Five checks before you leave the shop
Bring your insoles with you. Trying shoes without them is a waste of an afternoon, and any shop worth buying from will let you put them in.
Then run these five checks, in this order.
One. Drop the insole in and press down on the toe area. If the shoe’s upper bulges upward, the volume is already used up and the fit will fail.
Two. Stand up and check the lacing or strap gap. With an insole in, the gap should close slightly compared to bare foot. If it closes completely, the shoe is now too wide.
Three. Walk ten steps and listen. A squeak usually means the insole is rubbing against the shoe’s lining, which you can fix. A dull thud usually means the insole is bridging a hollow in the footbed, which you can’t.
Four. Check the heel. It should sit inside the counter without lifting. More than 3mm of lift and you’ll be fighting the shoe all day.
Five. Take them out and put them back in three times. If it’s fiddly now, it will be worse at 7am when you’re late.
Do all five and you’ll know in under ten minutes whether a pair is viable. Skip them and you’ll find out on a Tuesday, in a meeting, with no way to fix it.
Two shop-level details help. Ask for a thin sock, not a thick one, because that’s what you’ll be wearing at work. And walk on the hardest floor in the building rather than the carpet by the mirror, since carpet hides exactly the pressure point the insole creates.
If the shop won’t let you try with your own insoles, that’s your answer about the shop. It takes thirty seconds and it’s the difference between a considered purchase and a return.
Bring a friend if you can. Someone watching you walk will spot the hitch in your stride that you can’t feel yet, and that hitch is usually the first sign a pair won’t work.
Where it goes wrong, and the pair I’d skip
The most common failure isn’t the wrong shoe. It’s buying a shoe one size up to make room for the insole.
That approach solves the length and creates a new problem: the shoe is now too long at the toe, the flex point sits behind your foot’s natural bend, and the upper creases in the wrong place. Within a month you have a crease across the top of the toe box and a shoe that feels loose and unsupportive. Size for your foot, then choose a shoe with the depth to take the insert.
The second failure is buying a pair with an integrated arch support and adding an orthotic on top. You get double correction, which is uncomfortable, and often less effective than either one alone.
If I had to pick one pair to start with, it would be a soft leather flat or a low block with a removable footbed. A woven leather upper on a low heel gives you the give you need across the instep, and the texture hides the slight bulge that any insole creates. For something more formal, a shallow-throat leather pair works if the throat is cut high enough, so try before you commit.
For background on what these inserts actually do, the standard write-up on shoe inserts covers the difference between cushioning and correction, which is the distinction that decides whether you need depth at all. Orthotic devices are a separate category with their own fitting rules, and foot arch anatomy explains why one person’s support is another person’s pressure point.
For sizing context, the wide-width fitting numbers are worth reading before you order anything online, and the women’s shoes category has enough shapes to compare depth across styles.
Bring the insoles. Measure the depth with a bit of card. Refuse to size up. Do those three things and orthotic dress shoes for women stop being a compromise and start being just a normal pair of shoes you happen to wear with an insert.
