

You bought the right size. You know you did, because the box says 38 and your old pair says 38 and the length feels fine when you stand still. Then you walk to the shop and your heel lifts with every step, and by the time you get home there’s a hot spot the size of a coin on your ankle.
That’s not a sizing mistake. It’s a width mismatch, and it’s the most common reason ladies narrow walking shoes end up in the back of a cupboard after two wears.
Here’s the fix in one line: you need a shoe built on a narrow last, not a smaller size of a medium one. Below is how to tell the difference before you pay, plus the lacing and sock adjustments that can rescue a pair you already own.
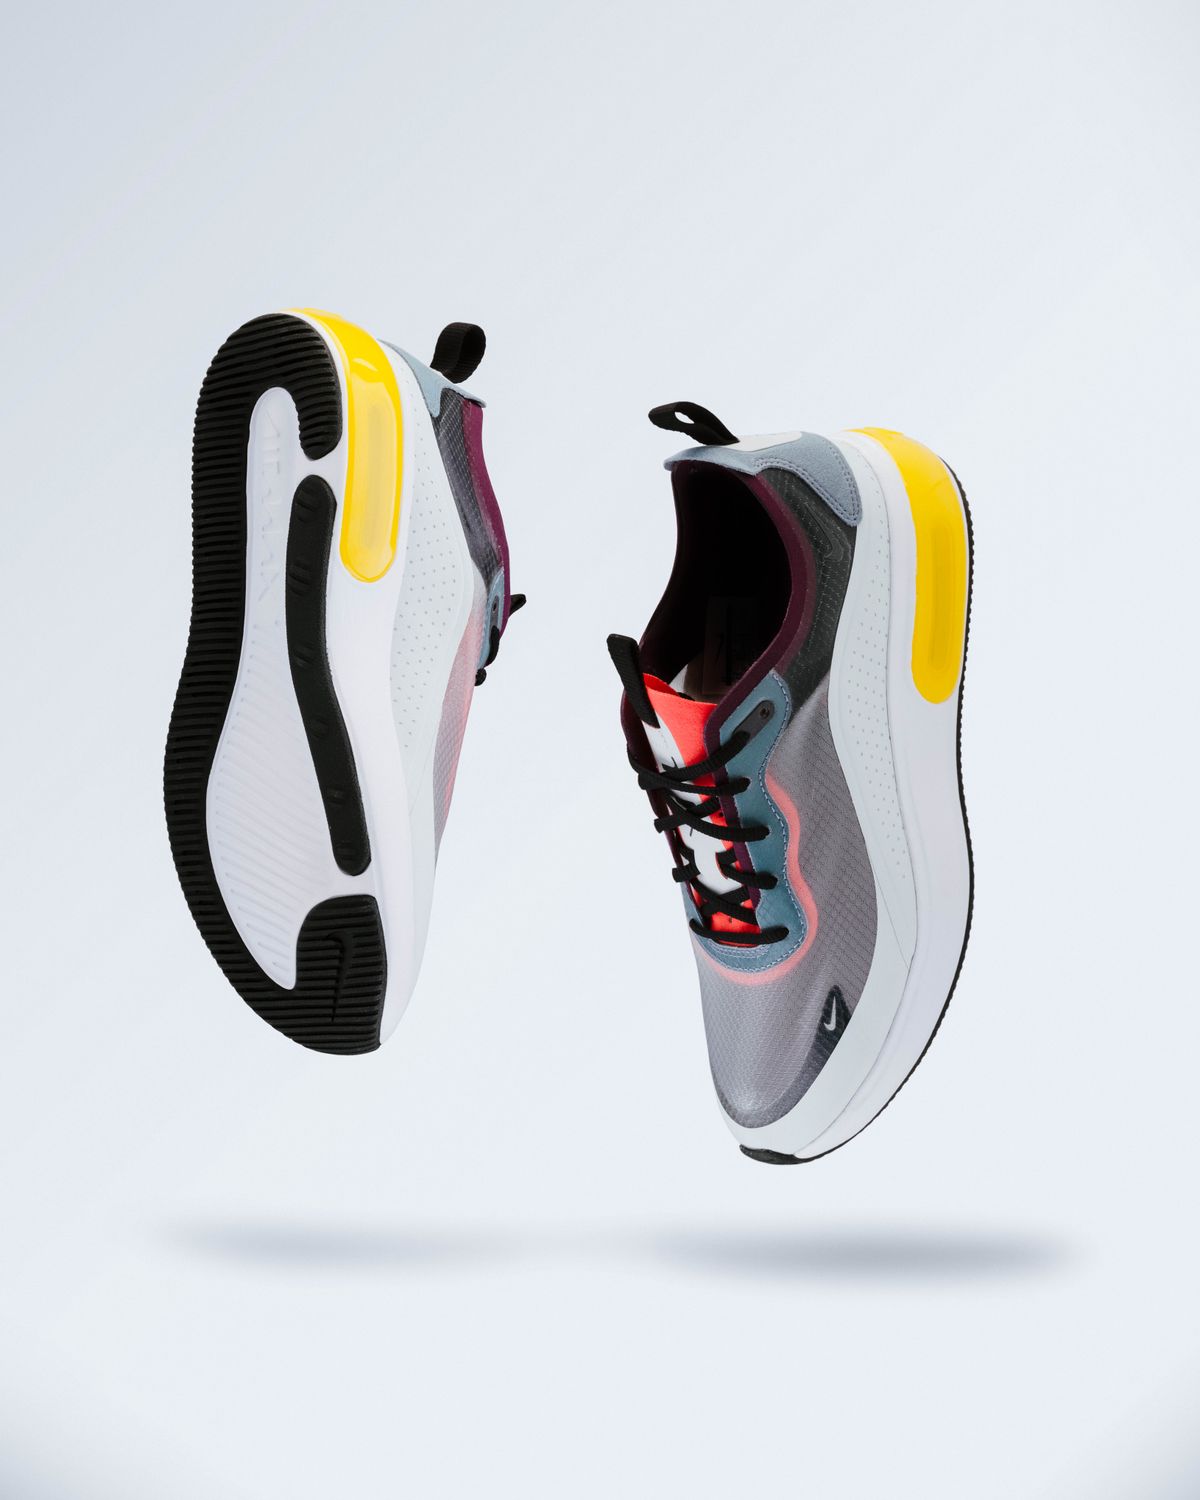
Heel slip isn’t a size problem, it’s a width problem
Most women’s walking shoes are made on a medium last, which is roughly a D width in US sizing. If your foot is a AA or B, the shoe is about 6 to 10mm too wide across the ball. Your foot slides forward and sideways inside it, and the heel counter can’t grip because there’s nothing pushing your foot back into it.
So you size down. Now the length is wrong, your toes hit the front on every downhill, and the heel still slips because the width hasn’t changed.
This is why so many people buy three pairs before finding one that works. The size chart is answering a question you didn’t ask.
Searching for ladies narrow walking shoes usually turns up three things: a size-down recommendation, a heel grip, and a pair of thick socks. None of them fixes the width of the shoe.
Foot width isn’t a single number either. Shoe sizing systems grade width at the ball of the foot, but your heel and instep have their own dimensions. A narrow heel with a medium forefoot is common, and that combination needs a shoe with a snug heel cup and a slightly wider toe box. Very few shoes are built that way, and the ones that are tend to cost a bit more.
Worth knowing: feet widen slightly through the day and through the decades. If you were a B width at 25 and you’re now 40, you may well be a C. Measure again rather than assuming.
Measure at 4pm, and measure both feet
You need two numbers: length and width. Length is easy. Width needs a tape measure and a wall.
Stand on a sheet of paper with your heel against the wall, weight on that foot. Mark the tip of your longest toe. That’s your length in centimetres. Then measure across the widest part of your forefoot, from the joint of the big toe to the joint of the little toe, with the tape touching your skin but not pressing.
Do it at the end of the day. Feet swell by up to 4 percent over 12 hours of standing, which is roughly half a size. A shoe that fits at 8am can be tight at 6pm.
Do both feet. Almost everyone has one foot 2 to 5mm longer than the other, and a surprising number have different widths. Fit the larger foot and accept a little room on the smaller one.
Now compare the width number to the shoe’s spec. Most brands publish width in letters, not millimetres, and the conversion is inconsistent between brands. A “B” from one label can be a “narrow” from another and a standard from a third. This is genuinely annoying, and it’s why trying shoes on beats reading specs.
If you can’t get to a shop, order two widths of the same shoe if the brand offers them, and send one back. It costs a return fee and saves you three weeks of guessing.
One more measurement people skip: the instep. Wrap the tape over the top of your foot at its highest point. A high instep in a narrow shoe is a specific problem, because tightening the laces to hold the heel pushes the tongue into the top of your foot. If that’s you, look for a shoe with a padded tongue and eyelets that stop before the highest point of your foot.
The three-part fit test, done in the shop
Ninety seconds, three checks, no guesswork. Do them in this order.
1. The pinch test. Press your thumb and forefinger into the upper on both sides of the widest part of your foot. You should feel the material touch your skin lightly, with no gap and no squeeze. If you can pinch a fold of upper 5mm deep on each side, the shoe is too wide.
2. The heel lock test. Lace them up, then walk 20 paces on a hard floor. Watch your heel from the side if there’s a mirror. Up to 5mm of lift is normal. If you can see daylight between your heel and the shoe, or feel your sock sliding, the heel cup is too wide.
3. The single-leg stand. Stand on one foot for five seconds. If the shoe rolls to the outside and you have to grip with your toes to stay level, the midsole is too soft for your ankle. That’s a stability problem, and no amount of lacing fixes it.
Anything that fails check one or two can sometimes be rescued. Check three can’t.
There’s a fourth check that costs nothing: bring the socks you actually walk in. Thin socks in the shop and thick wool socks at home turns a good fit into a tight one. If you wear two different sock weights across the year, fit for the thicker pair and add an insole for the summer months.
Lacing tricks that buy you half a size
Lacing can’t change the last, but it can change where the shoe grips. Two patterns do most of the work.
Heel lock lacing. Use the last pair of eyelets to create a loop, then cross the lace ends through the loop on the opposite side and pull down toward the toe. This pulls the heel back into the cup without tightening the forefoot. It works on almost any shoe with two extra eyelets, and it’s the single best fix for mild heel slip.
Window lacing. Skip the two eyelets directly over the highest part of your instep and lace straight up the sides instead. This relieves pressure on a high instep and lets you tighten the rest of the shoe without cutting off circulation.
What doesn’t work: pulling the laces as tight as they’ll go. That creases the upper over your instep, compresses the sides of your foot, and after 40 minutes your toes go numb. Tight laces also make the heel counter bow outward, which is the opposite of what you’re trying to achieve.
Replace the laces while you’re at it. Round laces slip and need retying every hour. Flat laces hold better in the eyelets and distribute pressure more evenly. It’s a two-pound fix that changes how a shoe feels.
If you’ve got a pair that’s genuinely half a size too wide, a tongue pad is the least invasive fix. It sits under the tongue and pushes your foot back into the heel. It’s a bit of a fudge, and it only works if the width problem is 5mm or less. Beyond that you’re fighting the shoe.
Insoles and socks: what helps, what makes it worse
Insoles change volume. That’s the whole mechanism, and it’s why the wrong one makes things worse.
A thin leather or foam insole, around 2mm, takes up space in a wide shoe without lifting your heel out of the cup. That’s the useful case. A thick gel insole, 6mm or more, raises your foot inside the shoe and pushes your heel upward, which increases slip. If heel slip is your problem, thick insoles are the wrong tool.
Socks work the same way, in reverse. Thick merino socks fill a wide shoe nicely in winter. In summer, a thin cotton sock in the same shoe will have you sliding. If you want one pair of shoes to work year-round, buy for the thinner sock and add a 2mm insole in winter.
Here’s a detail most people miss: sock fit at the heel matters more than thickness. A sock that’s baggy at the heel bunches under your ankle and creates the rubbing that turns into a blister. Friction blisters form from repeated shear, not from pressure alone, so anything that moves independently of your skin is a problem.
Two pairs of thin socks is an old walking trick and it still works. The inner sock sticks to your foot and the outer one moves against the shoe, so the shear happens between the socks instead of against your skin. It adds about 2mm of volume, which is why it pairs well with a narrow shoe that’s slightly too roomy.
What to avoid: silicone heel grips. They feel helpful for a day and then migrate, leaving adhesive residue inside the shoe that’s impossible to remove. A heel lock lace costs nothing and works better.
If the slip comes with a feeling that you’re walking downhill all the time, the drop might be the issue rather than the width. This piece on how a lower heel changes your stride is worth a read before you blame the last.
When narrow shoes still won’t work
Sometimes the shoe is fine and your foot needs something different. Three cases where I’d stop trying to make a narrow walking shoe work.
First, a bunion. If the joint at the base of your big toe is prominent, a narrow toe box will press on it with every step. You need a wide toe box with a narrow heel and a soft upper over the joint. That’s a specific shape, and most narrow shoes are the opposite of it.
Second, significant pronation. If your ankle rolls inward when you stand on one leg, you need support under the arch, and a narrow shoe often has a narrow midsole to match. The fix is a stability shoe plus an orthotic, not a tighter fit.
Third, feet that swell a lot in heat. A narrow shoe with no give in the upper has nowhere to expand. Look for a knit or mesh upper that stretches across the forefoot, and accept that it’ll feel loose in the morning.
If none of that applies and you just want a lighter, flatter option for warm weather, a breathable flat-bottomed walking shoe runs closer to the foot than a cushioned trainer and takes up the slack in the heel. For something with more structure, a pair of leather sports shoes with a soft, pliable upper will mould to a narrow foot after a week of wear, which is more than most synthetic uppers will do.
What I wouldn’t do is buy a shoe two sizes down and hope. That trade breaks the length to fix the width, and your toes pay for it on every downhill. It’s the reason so many ladies narrow walking shoes get returned with 20 kilometres on them.
What to check before you pay
A short list, because most of this comes down to three things you can see in the shop.
- Look at the insole. If it’s removable, you can adjust volume. If it’s glued, the fit is whatever it is.
- Flex the shoe at the ball. It should bend where your foot bends, not at the arch.
- Check the heel counter by squeezing it. Firm is good. If it folds flat between your fingers, it won’t hold a narrow heel.
- Ask whether the model comes in a narrow width. Many brands make one and don’t stock it on the shelf.
If you’re shopping online, order from a shop with free returns and buy two widths. It’s the only reliable way to compare without a 40-minute drive.
And if you already own a pair that slips, try heel lock lacing before you write them off. It’s free, it takes two minutes, and it fixes maybe half the cases I’ve described here. The other half need a different shoe, and now you know which numbers to look for.
One last thought for anyone who walks a lot: the shoe that fits at 8am is not the shoe you’ll be wearing at 6pm. Buy for the afternoon foot, and your evening self will have a much better walk home. If you want the wider picture on picking a pair for daily mileage, this guide to white walking shoes that survive 10,000 steps covers the materials side, and the low-profile sneaker range has more options in a slimmer shape than the walking section does.
