

You walk into the shop at four in the afternoon with a photo on your phone and one question: which size? The assistant brings a 38. It feels loose at the heel. She brings a 37 and now your little toe is hanging over the edge of the footbed. Both are wrong, and neither is your fault.
Strappy sandals sit on your foot differently from anything you wear with laces. There are no walls holding you in. One strap carries the whole job of keeping your heel seated, and half a size of extra length changes how that strap behaves. So the usual trick of buying your sneaker size and hoping is a coin flip. Below is how to pick a size for black sandals with heels for women by trying three pairs instead of one, in a specific order, reading what each pair tells you.
You need about fifteen minutes and a shop that will let you walk around. That’s it.
Your sneaker size is a starting point, not an answer
A closed shoe holds your foot in three places: the toe box, the sides, and the laces. A sandal holds it in two, sometimes one. That’s the reasoning behind the whole category, and it hasn’t changed much in a few thousand years: the basic sandal is one of the oldest forms of footwear, built from a sole and a fastening rather than a shell around the foot.
Footbeds also lie to you about length. The insole in a heeled sandal is usually several millimetres shorter than the shoe’s nominal last, because the curve at the heel eats space and the front lip needs a margin to glue onto. A 39 in a closed pump and a 39 in an open sandal are related, not identical. Expect a 3 to 6 mm difference depending on the brand’s last, which is roughly the gap between feeling fine and feeling your second toe press on the edge.
So measure your foot before you go, standing up, heel against a wall, weight on that foot. Write the number in millimetres and put it in your phone. Most women who tell me they’re a 38 measure somewhere between 240 and 247 mm. That range spans almost a full size in some lasts. The measurement is the fact. The label is a guess.
One correction to something I say a lot: “size down in sandals” is decent advice for closed pumps, where the leather will stretch and the toe box forgives. It’s bad advice for a sandal with an ankle strap. Size down there and the strap sits forward on the narrowest part of your ankle, where it will rub for the entire evening.
Half sizes complicate this further, and not every brand runs them. When a label jumps 38 to 39 with nothing between, the 38 is usually built on a shorter last and the 39 on the standard one, so the gap can be closer to 8 mm than 5. If you’re between sizes in a brand that skips halves, the honest move is to try both and pick on the heel counter rather than on the toe. In a brand that does run halves, take the half. It exists for exactly this foot.
Try the middle size first, then up, then down
Order matters more than people expect. If you start with the smallest pair, your foot adapts to the squeeze and every larger size afterwards feels like a boat. Start in the middle and you keep a reference point.
Here’s the sequence I’d give anyone standing in a shop with three boxes:
- Middle size first. Walk twenty steps. Note where your heel sits in the cup, and whether the arch of your foot lines up with the arch of the footbed.
- One size up. Same twenty steps. The question is not whether it feels roomier. It’s whether your heel stays put when you lift your foot.
- One size down. Thirty seconds is enough. If the outer edge of your foot spills over the footbed, stop. No strap will fix that.
Now you have three data points instead of a feeling. Nine times out of ten the answer is the middle or the larger one, and the reason is almost always the heel cup rather than the length. People buy short sandals because the toe area felt snug, then spend the summer with their heel hanging a centimetre off the back edge.
If the shop only has one size in stock, try it and use the checks below as a proxy. It’s slower, but it works.
Ordering online changes the sequence but not the logic. Buy two sizes from a shop with free returns, try them on the same evening, and keep the one where your heel sits in the cup. Don’t try one on Monday and the other on Thursday. Your feet are different on different days, and you’ll end up keeping the pair that happened to catch a cooler afternoon.
Three contact points, and each one wants a different size
A heeled sandal touches you in a few narrow bands. Each band gives you separate information, and they don’t always agree.
The toe strap. It should hold your foot back, not press it down. Slide a finger under it. If you can’t get the tip in, it’s too tight today and worse in July heat when feet swell. If two fingers slide in easily, the strap will let your foot creep forward and your toes will land on the front lip by hour two.
Second, the instep or ankle strap. This one decides whether you can walk. A strap sitting across the highest point of your instep will cut in when you flex. A strap sitting just below that point, closer to the ankle joint, distributes pressure better. If you have a high instep, look for a sandal with a buckle rather than a fixed elastic band, or woven leather straps that give a little across the top of the foot.
The heel counter. This is the back wall, and however minimal it looks, it’s what keeps the shoe on. Put your thumb between your heel and the counter. More than 6 mm of gap and the sandal will slap when you walk. Less than 2 mm and you’ll have a blister by the second wear.
When the three points disagree, trust the heel counter. It’s the hardest one to break in.
Multi-strap designs give you more contact points and less margin. With five thin straps, each one takes a share of the load, and the total has to add up to a hold. That’s comfortable when it’s right and miserable when it’s not, because there’s no single buckle to loosen that fixes all of them. Two wider straps usually behave better than five thin ones on a foot with a high instep, and one wide band across the instep beats a lattice for anything above 75 mm.
Also check where the strap edges are finished. A raw or folded edge on the inside of an ankle strap is the difference between a pair you wear barefoot and a pair that needs a sock you didn’t plan on.
Your feet are bigger at six in the evening than at eight in the morning
This is the part people skip, and it’s the reason a pair that felt fine at brunch ruins a wedding.
Standing and walking push fluid into the feet, and by late afternoon most people are carrying a few millimetres of extra length and width. In hot weather, on a hard floor, after a flight, the difference gets bigger. Sandals have no give in the footbed, so that swelling has to go somewhere. It goes over the edges.
Practical version: try shoes after 3 pm if you can, and try them standing. Sitting down in a shop flattens your arch and shortens your foot by a few millimetres, which is exactly the error that makes you buy a size too small.
If the sandals are for an evening event, buy for the evening. If they’re for a morning commute and nothing else, fit for that. Shoes don’t care about your plans, but the strap knows what time it is.
Two situations push the swelling further than a normal day: a flight longer than four hours, and a first hot week in June before your feet have adjusted to the season. If a wedding or a trip is the reason you’re buying, try the pair on at the end of a working day rather than on a Saturday morning. It’s a small change that saves a return.
A higher heel changes the length you need
On an incline, your foot slides forward. A 90 mm heel with no ankle strap will push your toes into the front edge no matter how well the length is measured while you’re standing straight.
Two fixes. First, when you try the higher pair, walk on a slight downhill to simulate the slide. Second, look at where the ball of your foot lands. On a well-made high sandal, the ball sits on the widest part of the footbed. If it’s sitting 5 mm forward of that point, the shoe is either too long or pitched too steeply for your foot.
A platform changes the maths. With 20 mm of platform under the toe, the effective pitch drops even though the heel number on the box stays the same. The history of the raised heel is a useful reminder here: the first versions were riding shoes built to catch a stirrup, and the height was never the point. Contact with the ground was.
That’s why a 100 mm platform sandal can feel calmer than a 75 mm stiletto. If you want the height without the toe crush, block-heel sandals with a bit of platform under the ball of the foot are the easier starting point, and there’s a longer breakdown of heel geometry in this guide to heel shapes and what each one does to your stride.
Heel shape also matters for stability, not just height. A 70 mm stiletto on a tiled floor is a different activity from a 70 mm block. Judge the pair on the surface you’ll actually walk on, not the shop carpet.
There’s one more variable people miss: how far back the heel sits under your own heel bone. If the pin sits behind your heel, your ankle has to work to stay balanced, and you’ll grip with your toes. If it sits directly under the centre of your heel, the load travels straight down. Turn the sandal over and look. That view tells you more about whether you can stand in them for four hours than the height printed on the box.
Three measurements that settle the argument
If you’d rather not guess in a shop, do this at home with a ruler and a strip of paper. It takes four minutes.
- Foot length, standing, heel to longest toe. In a sandal, you want 5 to 8 mm of footbed visible in front of your longest toe. Not 0, which means you’re on the edge, and not 15, which means the arch of the shoe won’t sit under your arch.
- Ball width, the widest part across the bones behind your toes. Compare it to the widest part of the footbed. If your foot is wider by more than about 4 mm, look at a different last or an open-sided design.
- Instep girth, the paper strip around the highest point of your foot. This one predicts strap pain better than any length number.
Write all three down. Brands publish lasts, not these numbers, so the value is in comparing your own pairs. Once you know your foot is 245 mm long and 92 mm wide, you can look at a sandal and see whether it will work before you unbuckle anything.
Measure both feet, by the way, and use the larger one. Almost everyone has a difference of 2 to 5 mm between left and right, and buying for the smaller foot is how a single toe ends up with a permanent callus.
For a wide forefoot, an open square or rounded toe box does more good than a size up. There’s a decent explanation of why a square toe forgives a wide forefoot where a pointed one punishes it, and it’s worth ten minutes if you’ve been sizing up to solve a width problem.
When to size up, when to stay put, when to leave
Three outcomes, three different reasons. Getting the reason right matters, because the wrong fix makes the next pair worse.
Size up if the footbed is short (your longest toe is on the edge), if the strap over your instep is tight enough to leave a mark after 30 seconds, or if you’ll wear them in heat with swelling. Expect to use the buckle one hole tighter than you’d think.
Stay put if the length is right and only the strap feels stiff. Leather straps relax. Patent and coated synthetic straps mostly don’t. Know which one you’re holding before you decide that it’ll loosen up.
Leave if the widest part of your foot hangs over the footbed, if your heel sits off the back edge, or if the arch support lands behind your arch. Those aren’t break-in problems. They’re a mismatched last, and no amount of wearing will fix a shoe that’s the wrong shape.
Before you decide, read the return policy properly. Sandals are the category where people most often buy two sizes and return one, and shops know it. If returns cost you postage both ways, the cheaper move is to try in person and buy the pair that fits rather than gamble on two. If returns are free, buy two and settle it at home with the ten-minute test below.
One case deserves its own line: high instep, narrow forefoot, patent leather, pointed toe, 90 mm heel. Four of those together is a pair you’ll wear once. If you match that profile, a softer satin or nubuck upper in the same silhouette is the more honest buy, because it will give where patent won’t.
The ten-minute test, and the two things that will still annoy you
Before you pay, do these in order. They catch almost everything.
- Walk on a hard floor, not carpet. Carpet hides a loose heel and a stiff sole.
- Stand on tiptoe. If your heel lifts out of the cup, the sandal is too long or the strap is too loose.
- Walk downhill, or on a book. Watch for your toes sliding forward.
- Stand still for two minutes. Most strap pressure shows up when you’re not moving.
- Check the buckle holes. You want at least one tighter hole available for the day your feet swell.
Two things will happen anyway. Black leather and black satin both transfer dye onto bare feet in hot weather, and it washes off, but it will surprise you the first time. The other is the ankle strap: even a well-fitted one rubs after about three hours of continuous walking. That’s normal, and the fix is a thin gel strip, not a bigger size.
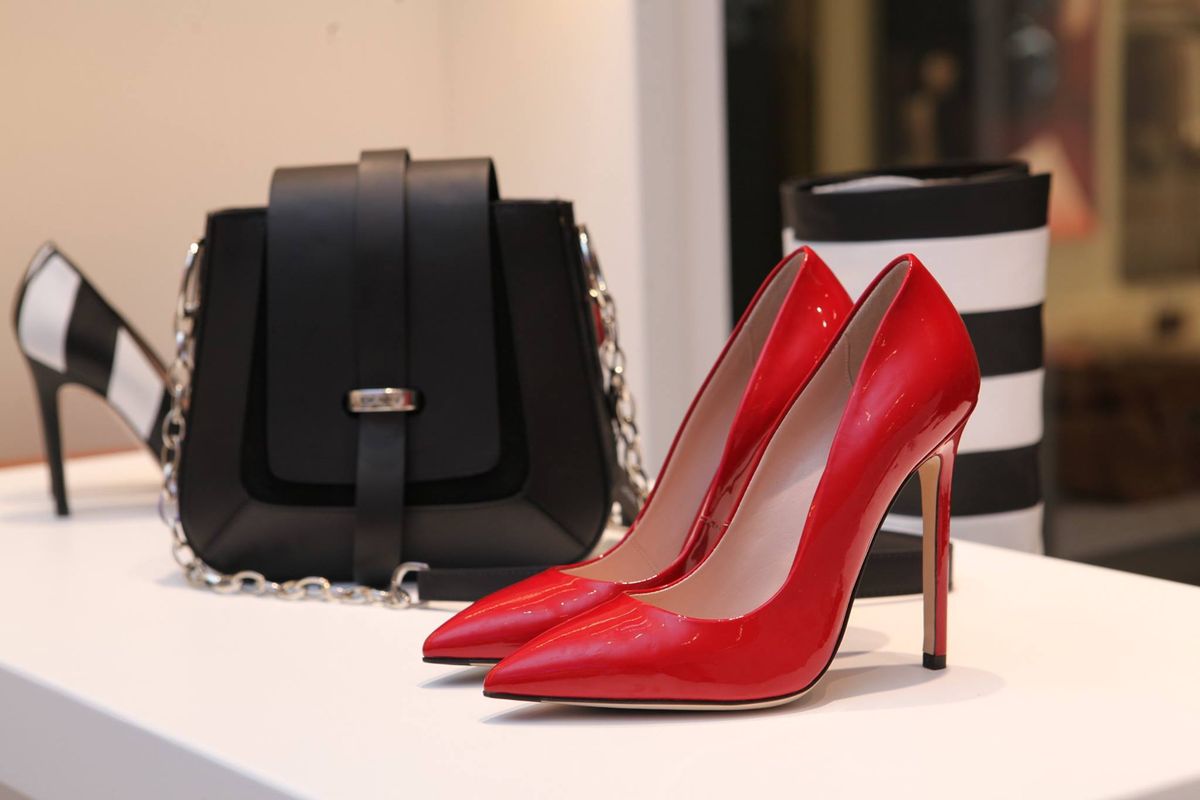
One more thing worth doing before the tags come off: wear them indoors for an hour on a hard floor. Most shops accept returns on shoes that haven’t been worn outside, and an hour in your own hallway will tell you what twenty steps in a carpeted shop can’t. If the strap has already left a red line, you have your answer while you still have the receipt.
If you want a pair that covers a lot of ground rather than one evening, start from the heels archive and browse by heel shape first, not by colour. Shape decides whether you can walk. Black is the easy part.
Go at four in the afternoon, take three sizes into the fitting room, and buy the pair where your heel stays in the cup when you stand on tiptoe. Then walk out of the shop in them, because that’s the only test that counts. If you’re still deciding between two numbers, ask which one has a tighter buckle hole left. That’s the pair you’ll still be wearing in September.
