

You’ve seen them on other people and they look easy. Then you try a pair and feel like you’re wearing costume shoes from a school play. Same style, completely different result, and the difference is almost never the colour.
Retro sneakers fail on most women for one of two reasons: the sole is too flat, or the proportions fight the length of your leg. Neither is obvious in a product photo. Both are obvious in a mirror at the shop, if you know what to look at.
Retro is a shape, not a decade
The word gets used for anything with a rubber toe cap. That’s not what makes a pair look old-school. What makes it look old-school is a low, thin sole, a narrow waist under your arch, and an upper that follows the shape of your foot instead of padding it.
Those three things come from sports that existed before cushioning was a marketing category. Tennis, basketball, running on cinder tracks. The shoes were built to be light and grippy, and the designers had no reason to add height.
That’s why a 1970s runner and an early 1980s court shoe look related but not identical. One is long and sleek, the other is shorter with a wider toe. If you want the effect on your leg, know which one suits you. Long and low lengthens. Short and wide makes your ankle look bigger.
And a quick reality check on comfort: retro styling usually means less foam under your foot than a modern trainer. You’re trading cushioning for a silhouette. The history of the sneaker explains why that trade exists at all, since the earliest versions were canvas and rubber with nothing in between.
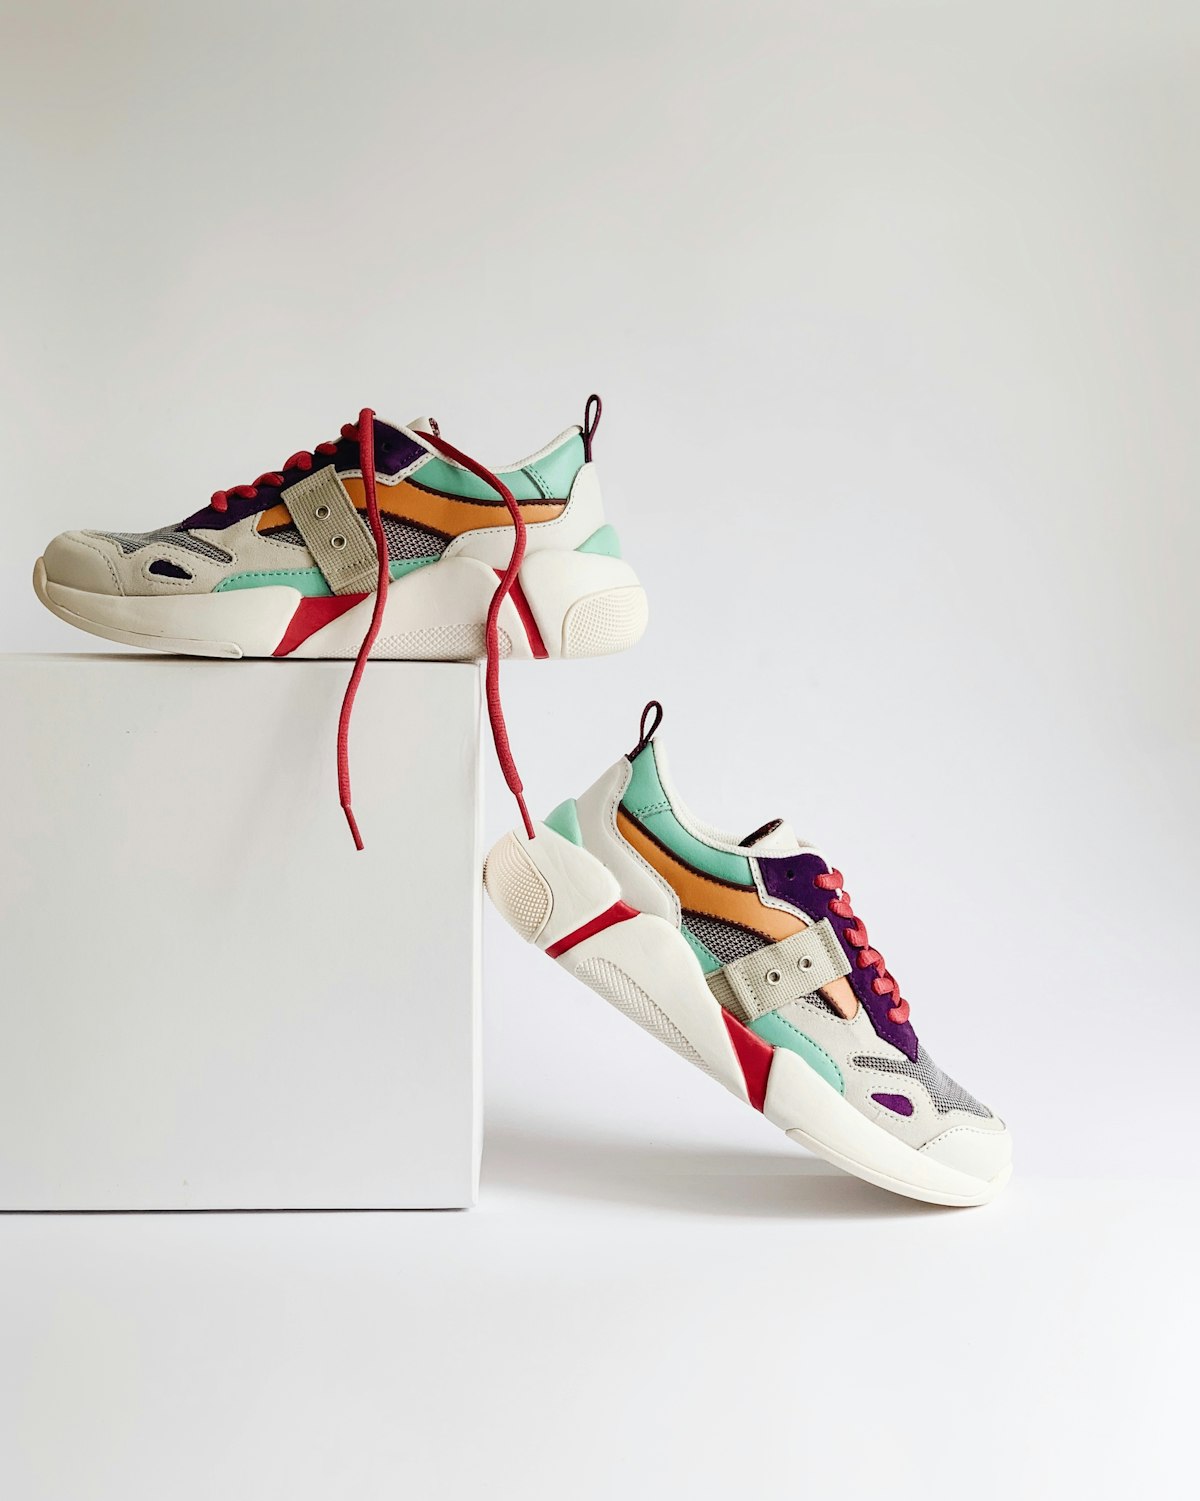
Four retro shapes, and who each one suits
Most of what’s on the shelf is a variation on four silhouettes. Knowing the name helps you search, and it helps you predict the fit before you order.
- The court shoe. Leather upper, flat cup sole, low toe. Short and clean. Best for narrow to average feet and trousers with a straight leg.
- The 1970s runner. Long, narrow, slightly pointed toe, often suede and mesh. Makes your foot look longer, which is great with cropped jeans.
- The vulcanised plimsoll. Canvas, ribbed rubber, very flat. Cheap, washable, and the hardest to wear all day if your arches need help.
- The trainer. Chunkier heel wedge, visible stitching, a bit more padding in the collar. The easiest entry point if you’ve been in modern sneakers for years.
If your feet are wide, start with the trainer and work backwards. Court shoes in a wide fit exist, but they’re rare and often cost more than the narrow version of the same shoe.
One more thing about proportions. A low-profile shoe draws the eye down, so it works best with hems that stop above the ankle or pool over the shoe deliberately. Mid-calf straight jeans plus a flat retro sneaker is the combination that makes most people feel short. Not the shoe’s fault, but the shoe gets the blame.
Low soles change how you walk, and your calves notice
Going from a 30mm cushioned sole to a 12mm flat one is a real change, even if it looks small. Your heel drops closer to the ground, your achilles stretches a little more with each step, and your calf does slightly more work.
Most people adapt in a week. If you already have tight calves or plantar fasciitis, the first few days can hurt, and it’s usually the calf rather than the foot that complains. Break them in on short errands, not on a 12,000-step day.
There’s a second effect that catches people mid-shoe: a flat, thin sole gives you more feel and less forgiveness. You’ll notice every pebble on a gravel path. Some women love that. Others go straight back to a thicker sole and never look back.
If you want the retro look with a little more underfoot, look for a trainer silhouette with a wedge heel of 20 to 25mm. That’s enough to take the edge off pavement without changing the shape from the side. This piece on why less sole changes your gait goes deeper on the mechanics if you’re weighing it up.
The two-tone rule that saves you from costume territory
Retro sneakers go wrong when there are too many colours competing. Three or more shades on one shoe, and it stops looking like a shoe and starts looking like a prop.
The rule I use: one dominant colour, one contrast, nothing else. White upper with a gum sole counts as one plus a neutral. Navy upper with a white stripe counts. Red, cream, and green together does not.
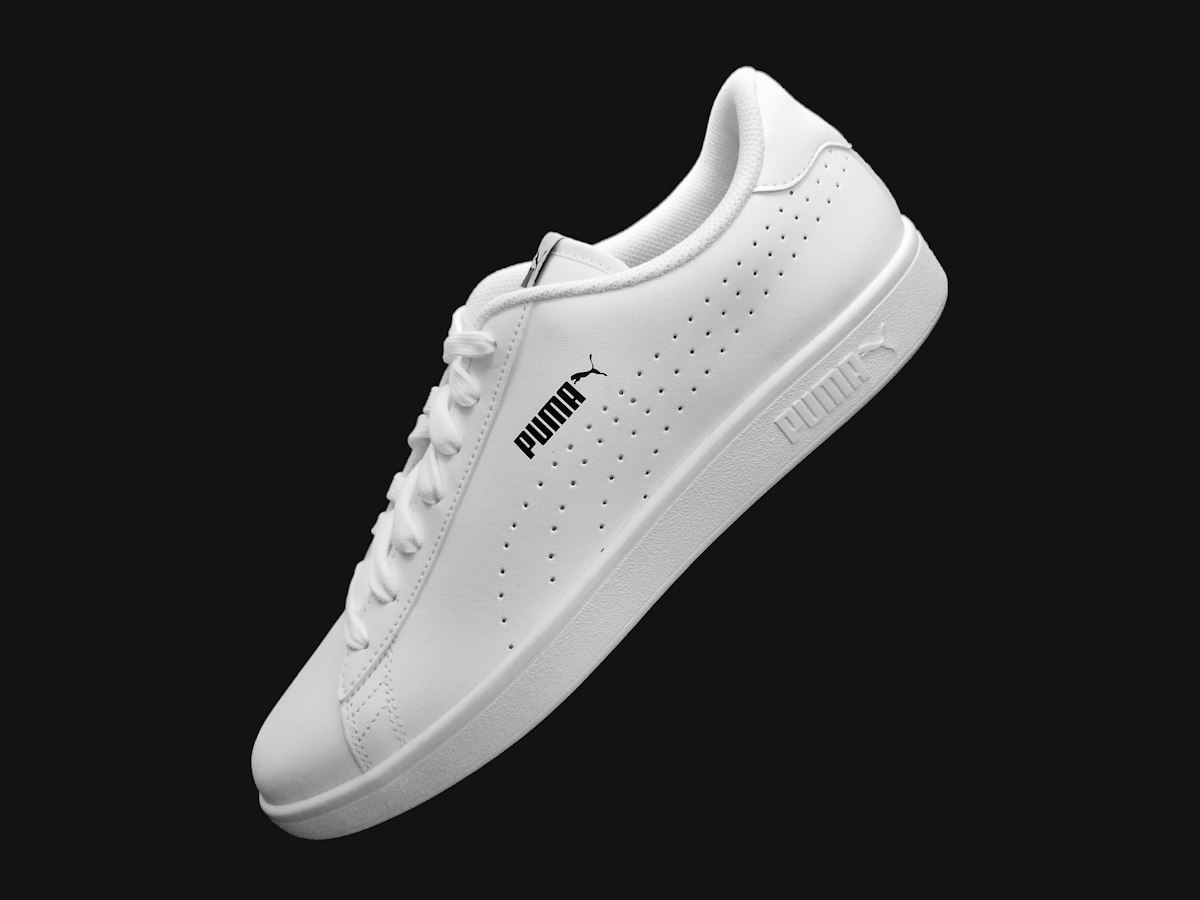
- Safest: white leather, gum sole, white laces.
- Still easy: navy suede with a white sole and a thin white stripe.
- Needs commitment: forest green with cream panels and a red heel tab.
Gum soles deserve their own note. That honey-tan rubber shows dirt less than white, and it photographs warmer. It also marks more easily from denim, and it darkens unevenly if one shoe gets more sun. If you’re fussy about patina, go white.
Colour also decides how long the pair looks current. Bold colourways date quickly because you remember them from one specific season. White, navy, and black leather retro sneakers just keep going, which is the whole point of buying this shape.
Upper material decides the upkeep, not the look
Three materials dominate this category, and they behave nothing alike after a month of wear.
Leather holds shape best. It creases at the flex point, which on a retro shoe is right behind the toe cap, so the crease looks intentional. It also wipes clean. The downside is weight and price, plus the break-in period.
Suede is the most retro of the three and the most work. It absorbs water, holds dust, and shows scuffs as lighter patches. Brush it dry with a suede brush and it comes back. Wash it and you’ll ruin it. On the plus side, suede softens fast and looks better creased than leather does.
Canvas is the cheap, cheerful option. It breathes, it’s light, and it survives a washing machine better than people expect. It also stains permanently and sags at the heel after a season. If you like the flat plimsoll look and you’re hard on shoes, canvas is the sane choice because replacing it costs little.
Mixed uppers (suede toe, mesh panels, leather heel) combine the best of each but make cleaning fiddly. You can’t scrub the whole shoe the same way. For a read on how canvas behaves after repeated washing, this washing-machine test on canvas sneakers is worth five minutes before you buy pale canvas.
Rubber is worth understanding too, because the sole is where retro shoes live or die. The vulcanisation process is what made a flexible rubber sole possible in the first place, and it’s the reason a cheap plimsoll can still be comfortable for a few hours.
What breaks first, and how to slow it down
Retro sneakers fail in predictable places. If you know the order, you can decide whether a pair is worth repairing or replacing.
- The heel lining. First to go, usually within eight months. The fabric wears through where your heel rubs. A heel patch bought early adds a year.
- The toe cap seam. On vulcanised shoes, the rubber separates from the canvas at the flex point. Shoe glue fixes it for a while.
- The insole. Cheap foam compresses flat and stays flat. Replacing the insole is cheaper than replacing the shoe.
- The outsole edge. Thin rubber wears through at the outer heel if you supinate. That one isn’t fixable at home.
Two habits stretch the life of any pair here. Untie before you put them on, because forcing your foot in breaks the heel counter. And rotate between two pairs so each one dries out fully, since moisture inside the shoe is what destroys linings fastest.
Store them somewhere dry with a little air. A cupboard under a bathroom is the worst place in the house for suede, and it’s where most people keep their shoes.
When retro is the wrong choice
If you’re on your feet for a 10-hour shift, skip this category. A flat retro sole with no shank and no cushioning will punish you by hour six, no matter how good the leather is. The pain starts under the ball of your foot, not at the heel, and it doesn’t ease off when you sit down for five minutes.
Flat feet and arch support don’t cooperate with this shape. An orthotic lifts your heel out of the shoe, the collar starts rubbing, and within a week you’re back in your old pair. A thin insole can make it work for short days, but it’s a compromise, and it changes how the shoe sits across the top of your foot. If you need proper support, buy a shoe with room inside for it instead of fighting the silhouette.
If you’re shopping for one pair to do everything, buy a modern trainer instead and add a retro pair later. The pair that covers a commute, a supermarket run, and a weekend walk needs cushioning that this silhouette doesn’t have.
For the days when you want the old-school look with a bit more height and padding, there’s a middle ground: a thick-soled dad shoe with a hidden lift keeps the chunky profile and adds 30mm. Not strictly retro, but it solves the comfort problem.
For warm weather, a lightweight spring and summer leisure sneaker covers the same casual ground without the flat sole. And if you’re after something that leans sporty rather than nostalgic, this shock-absorbing running-style pair has the sole you’d want for a long walk.
Five minutes in the shop beats a week of returns
Most bad retro sneaker purchases could have been avoided on the shop floor. There are four checks worth doing, and each one takes under a minute.
- Bend the shoe at the ball. It should fold where your foot bends, not at the middle. If the break point sits too far back, the shoe will cut across your arch as you walk.
- Press the heel counter. Firm is good. Collapsible means your heel will slide, and a sliding heel is what wears through the lining first.
- Walk ten steps on a hard floor. Tile, not carpet. Carpet hides a stiff sole and a slipping heel, and then you get them home onto wood floors and everything feels wrong.
- Check the toe box width with your thumb. Press down just behind the cap. If you can feel your toes touching the upper, size up or pick another shape.
Do the same ten steps twice, once with the laces loose and once done up properly. A retro shoe that only feels right when tightly laced is too wide for you, and it’ll rub the top of your foot by the second week.
One last shop-floor thing, and it’s the one people skip. Look at the pair under daylight if you can, near a door. Shop lighting flatters every colourway, and a red that looks deep indoors can look bright orange in the street. If the shop has no daylight, take a photo outside and look at it there before you commit.
Then compare the heel height with your usual pair at home. Not the number on the box, the actual difference under your heel. A 10mm drop feels like nothing in the shop and like a lot after four hours on your feet.
Start with the mirror test. Put the pair on with the jeans you wear most, stand side-on, and check where the hem lands. If it cuts across the top of the shoe, the shoe isn’t the problem. Then check the sole height and the width of the toe box, in that order. Get those two right and the rest is colour, which is the easy part.
Have a look through the retro sneaker styles for women, or browse the full women’s sneaker collection if you’d rather compare silhouettes next to each other.
