

You put the black pair on, check the mirror, and they look sharp. Then someone takes a photo at the cafe and your feet read as two dark lumps. Nothing changed in those four minutes except the light and the lens.
That gap is worth taking seriously. Walking shoes get bought on comfort and then judged on photos, and black is the colour most of us reach for first. When the pair photographs badly, you stop wearing it, and the cost per wear quietly doubles while the shoes sit by the door.
Three tests settle this faster than any shopping trip: daylight, flash, and angle. Run them in that order on the pair you already own, or on a pair you’re about to buy.
Test one: put your phone camera on them before you decide anything
Stand in a doorway with the phone at knee height, about 60cm away. Don’t crouch and don’t zoom. This is roughly how a friend sees your feet when they’re standing across from you, and it’s the view that matters most.
What you’ll usually find with all black walking shoes is that the upper merges into one dark shape. No toe box, no lacing, no heel counter. Your eye fills in the details because you know what a shoe looks like. The camera won’t do that work for you.
Here’s the check, in numbers you can act on:
- If you can’t see the lace line at all, the upper has no contrast structure. Photos will look like a slipper.
- If the sole disappears into the ground, you need a lighter midsole edge or a different shooting angle.
- If the toe looks rounded and wide in the photo, the shoe is probably 5 to 8mm too long for you.
Most people blame the shoe. Usually it’s the shoe plus a camera held at chest height, which foreshortens everything below the knee.
Do the test twice: once in the room where you keep your shoes, once by a window. Indoor lighting in most homes sits around 2700 to 3000K and skews warm, so black leather picks up a brown cast that isn’t there in daylight. If your pair looks distinctly brownish indoors and black outside, that’s the bulb, not the dye.
Shop lighting is worse. Retail floors are lit at 3500 to 4000K with strong overhead spots, which flatters dark uppers by adding specular highlights. It is the single most common reason a pair looks better in the store than at home. Photograph the shoe in the shop doorway before you pay, and compare that shot with the one you take in your hallway an hour later.
One more thing worth knowing before you spend money: black hides damage on the shelf and then reveals it under a lens. Scuffs on a black leather toe show up as light grey marks, because you’ve scraped the pigment off and the material underneath is paler. That doesn’t photograph well at any angle. If the pair is secondhand or a final-sale return, look at the toe and heel edges under a phone torch before you commit.
Fit is the other half of this. A shoe that’s 5mm long will crease in the wrong place, and those creases are what the camera picks up first. The Brannock device measures heel-to-toe and heel-to-ball separately for exactly this reason, and most people only ever get the first number. If you can’t get to a shop with one, trace your foot on paper at the end of the day and measure the outline, not your foot.
If you already know the fit is the problem rather than the colour, the width conversation is a separate read: where width grading goes wrong covers the measurements that actually shift between sizes.
Daylight: why black loses its edge outdoors
Outdoors, your phone meters for the brightest thing in the frame. On a bright pavement that’s the ground, so the camera pulls the exposure down and your shoes go darker than they look to you. Photographers call this metering, and it’s the reason black clothing photographs as a silhouette at noon.
Texture is what rescues it. A smooth full-grain leather upper reflects light in one direction, so it reads as a flat dark shape. A suede or nubuck finish scatters light in every direction and keeps some visible grain. Mesh does the same job, which is why knitted black sneakers photograph better than polished black leather ones.
Try this comparison on a sunny morning:
- Smooth leather: reads as a solid block, edges blur.
- Suede or nubuck: keeps a visible nap, holds shape in photos.
- Knit or mesh: shows structure and shadow through the weave.
- Patent or coated: throws a hot highlight that can blow out a whole section.
None of those are better shoes. They’re just different in front of a lens, and if you care about how the pair reads in photos, texture buys you more than any styling trick.
Suede has one catch. Nap direction changes the colour. Brush a black suede toe upward and it goes lighter; brush it down and it darkens. That means one shoe can photograph a shade apart from the other if they’ve been handled differently. A soft brush in one direction across both shoes fixes it in under a minute, and it’s worth doing before any photo you actually care about.
Cloud cover is the photographer’s cheat code. An overcast afternoon gives you a huge soft light source, no hard shadows, and enough contrast to keep the shoe’s shape readable. If you’ve been shooting black shoes on sunny days and hating the results, wait for a grey sky. It is genuinely the difference between a lump and a shoe.
The surface you stand on matters too. Black shoes on dark asphalt disappear. Black on pale concrete or light timber gets a clean edge and looks sharper than it does in real life. That’s not cheating, it’s just contrast.
A small correction while we’re here: many people assume black is slimming for feet and therefore flattering in photos. In daylight it mostly flattens. The shape of the shoe does the work, and a slightly tapered toe photographs narrower than a round one every time.
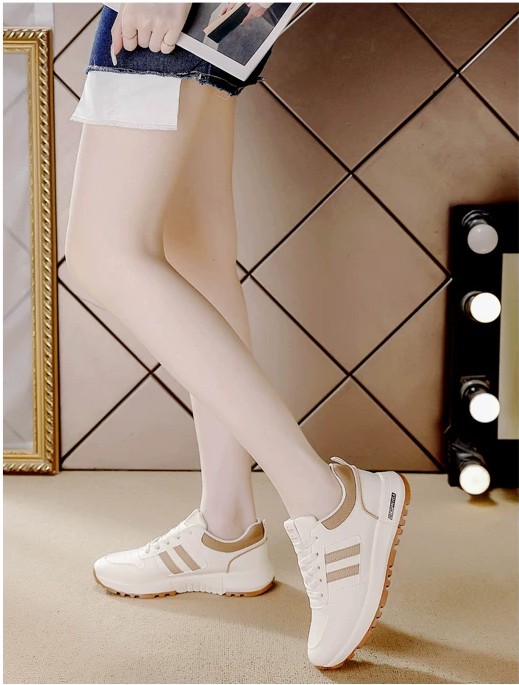
The 8pm flash test
Flash is the harshest judge of any dark shoe. It fires from a small point source close to the lens, so it kills the shadows that give a shoe its shape. Black uppers come back as charcoal grey, and every scuff turns into a bright speck.
That’s useful information, not a reason to avoid flash photos. It tells you where the wear is.
Run it once, indoors, at night, with the shoe on a plain surface. Look at three zones:
- The toe crease. Fine white lines mean the finish is cracking. It’ll spread.
- The inner heel. A worn patch there usually means the heel is slipping 3 to 5mm as you walk.
- The sole edge. Faded dye on the midsole is cosmetic, but it dates the pair badly in photos.
Flash also reveals the cheap-leather problem. Bonded leather and coated split leather tend to look uniformly matte until a flash hits them, then they show a plasticky sheen that no amount of polishing fixes. Full-grain leather under flash still looks like leather.
There’s a practical upside. Once you know your pair flashes grey rather than black, you can stop trying to photograph it at night. Shoot it in open shade instead, an hour before sunset, and the same shoe reads rich and dark.
Distance changes the result more than most people expect. At 30cm the flash is close enough to light the upper evenly, and you get that flat grey look. At 1.5m the light falls off and you get shape back, with the shadow behind the shoe doing the work. If you’re photographing a pair for a listing or a review, back up and crop later.
Fair warning on one more thing: black dye transfers. If you wear black walking shoes with pale socks on a warm day, expect a grey line at the ankle after a few hours. That has nothing to do with quality and everything to do with how much excess dye is on the lining. Wash the socks cold and separately for the first month.
The angle that sells a black walking shoe
Straight-on from the front is the worst angle for all black walking shoes. You get one flat mass and no length. Turn the foot out about 45 degrees and you suddenly get the toe, the lacing, and the heel counter in one frame.
Three angles do most of the work:
- 45 degrees, toe pointing away from the camera. Shows length and the taper of the toe box.
- Side profile with the heel lifted 2cm. Reveals midsole stack height, which reads as comfort.
- Top-down while standing. Best for showing how the shoe sits on a real foot, not a mannequin.
The heel lift is the one people skip. A shoe photographed flat on the ground looks heavier than the same shoe with the heel raised slightly, because you can see the sole curve at the toe. It also shows whether the toe springs upward, which is a genuine comfort signal on a walking shoe.
Standing shots beat product shots for a different reason. Your foot compresses the midsole, the upper creases where it will actually crease, and the shoe stops looking like an object and starts looking like something a person wears. If you want to know how a pair will look on you rather than in a listing, ask for that shot.
The one angle to avoid is the extreme close-up of the toe. It exaggerates scuffs by a factor of three and makes every shoe look tired.
Background deserves thirty seconds of thought. A black shoe against a dark floor has no edge, so the silhouette disappears and the photo looks accidental. Put a sheet of paper, a pale rug, or a cardboard box behind the shoe and the same pair suddenly has a clear outline. You’re not making the shoe look better, you’re letting the lens find its edge, which is the only thing a photo can honestly show.
For walking shots, take three frames rather than one: mid-stride, heel strike, and standing still. Mid-stride shows the sole flex, heel strike shows the cushioning, and the still frame shows proportion. Most people take the still frame only and then wonder why the shoe looks stiff.
Photograph the pair you’re considering next to the pair you already wear. Same light, same distance. Black hides proportion problems when it’s alone in a frame, and a side-by-side with a shoe you know fits well exposes them in about five seconds.
If shape and proportion are your main concern rather than colour, this piece on what white walking shoes hide and what they amplify covers the same geometry from the opposite end of the palette.
What you can change in ten seconds: socks, hem, pavement
Once the shoe is fixed, styling is the only lever left, and it’s a strong one. Three variables decide whether black walking shoes read as deliberate or accidental.
Socks. Black shoe plus black sock creates an unbroken dark line from hem to sole, which makes the leg look shorter and the shoe look like part of the trousers. A grey, oatmeal, or navy sock breaks the line and gives the shoe a visible top edge. If you’re wearing cropped trousers, choose a sock with some texture so it doesn’t look like a mistake.
Hem. A hem that ends 2 to 4cm above the shoe collar is the cleanest proportion with a walking shoe. Anything longer pools on the laces and makes the whole lower leg look heavy. This is why the same pair looks great with one pair of trousers and wrong with another, and it’s a hemming job, not a shoe problem.
Laces. The cheapest change on this list. Swap flat black laces for round ones, or for a slightly lighter shade, and the whole shoe gains a visible line down the middle. It costs a couple of dollars and takes two minutes. On a black walking shoe with a plain upper, lace texture is often the only thing separating it from a school shoe in photographs.
Pavement. Pale ground makes a black shoe look sharper. That sounds like a photo-only concern, but it changes what you notice in real life too. If you’re choosing between two pairs and one has a lighter midsole or a gum outsole, that pair will look more considered on a grey street.
For the practical side of actually walking in them, the everyday pair matters more than the photogenic pair. Most women end up with one leisure walking shoe for errands and school runs and one softer mesh walking pair for warm afternoons. Black works in both roles, which is exactly why it gets so much wear.
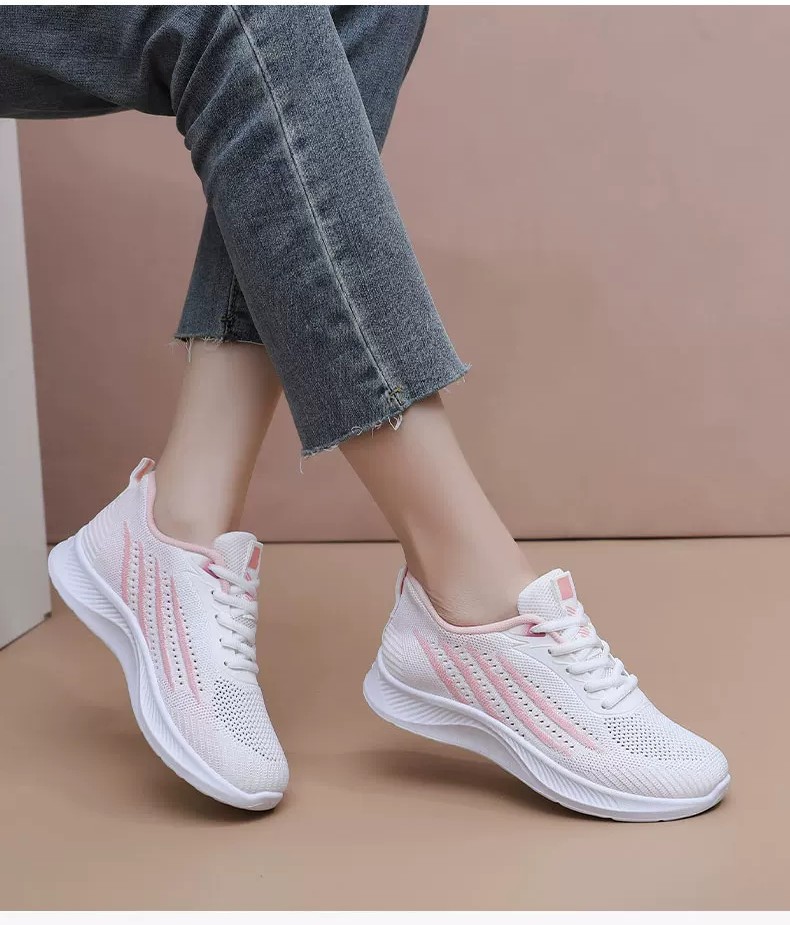
When black is the wrong call
Black walking shoes are the default, and defaults have costs. Four situations where a different colour does the job better.
The first is heat. All black walking shoes on hot pavement get noticeably warm across the top of the foot, and no amount of mesh fully cancels that out.
Hot pavements. Dark uppers absorb more heat than pale ones, and on a 32C day the difference is noticeable on the top of your foot within twenty minutes. If you walk long distances in summer, a light upper genuinely runs cooler.
Dust and pollen. Black shows pale dust instantly. A taupe or grey pair hides the same amount of dust for a week longer. People assume white is the high-maintenance choice, and it isn’t, not when the alternative is a colour that turns chalky on contact.
Gym floors and scuff-prone surfaces. Black rubber soles leave visible marks on pale sports hall flooring, and black uppers pick up light scuffs from equipment. If you’re walking indoors a lot, this gets old fast.
Any outfit where the shoe needs to look like a shoe. All black walking shoes can read as uniform or workwear in a way that a black leather sneaker with a lighter sole doesn’t. The fix is contrast somewhere on the shoe, not a different outfit.
There’s also the honest one: cheap black leather looks cheaper than cheap brown leather. The finish is more visible under light, and the creasing shows as grey lines. If you’re buying at the low end of the market, a matte textile upper will look better for longer than a shiny coated one.
Wet weather. Black shows water marks as pale rings once it dries, particularly on nubuck and on any suede that’s been treated with a spray. A darker brown or a mid-grey hides the same rings. If you walk in the rain often and don’t want to re-proof your shoes every fortnight, that’s a real strike against black.
There’s a seasonal version of this too. Black absorbs light and heat, so it’s the wrong colour for July pavements and the right colour for November ones. Most of us buy shoes in spring and then wear them through the summer, which is how people end up with a pair they resent by August.
None of that makes black a bad choice. It makes it a choice with specific weaknesses, which is the useful version of the information.
The pair that survives its own photographs
If you only do one thing after reading this, take the photo before you take the tags off. Daylight, knee height, 45 degrees, pale ground if you have it. The shoe that looks like a shoe in that frame is the one you’ll still be wearing in eighteen months, because you’ll actually want to put it on. That applies double to all black walking shoes, which have the least natural contrast to help them along.
Black is forgiving in a wardrobe and unforgiving in a lens. You now know which is which.
And if the pair fails the test, that’s not a reason to throw it out. It’s a reason to stop expecting it to be the pair you photograph in. Keep it for the mornings when nobody’s taking pictures, which is most mornings.
More on the category side if you’re still narrowing it down: the full walking shoes section is sorted by style, and the basics of photographic exposure explain the metering effect in more detail if you want the technical version.
