

By four in the afternoon your little toe is pressed flat against the side of the shoe and you’ve started walking on the outer edge of your foot to get some relief. The shoes felt fine at 8am. Nothing has changed except the hour and the distance.
That’s the usual shape of a width problem. It doesn’t announce itself in the shop. It shows up 8,000 steps later, and by then you’re stuck with the pair.
Before you buy women’s wide walking shoes, check two numbers: the width of your foot at the ball, in millimetres, and where the shoe puts its extra volume. Most wide pairs add room at the toe and leave the midfoot exactly as narrow as the standard version. That single detail explains why some people buy wide and still get pinched.
Below is the order I’d work through it, starting with a tape measure and ending with what to do in the first ten minutes at home.
Measure at the ball, the instep and the heel, in that order
Forget the size chart for a minute. It tells you length, and length is the one thing that’s roughly consistent across brands. Width is where the numbers fall apart, because a US women’s B in one brand can measure closer to another brand’s D.
Stand on a sheet of paper with your full weight on that foot, sock on if you’ll wear socks. Trace around it with a pen held vertically. Then measure three things with a ruler:
- Ball width. The widest point across the ball of the foot, from the joint below the big toe to the joint below the little toe. This is the number that decides whether the shoe fits.
- Instep height. Wrap a tape around the highest part of the foot, just behind the toes. High insteps push against the tongue and the lacing panel, and a shoe can be wide at the ball and still too tight here.
- Heel width. Across the back of the heel, roughly where the counter sits. Most people never measure this one, and it’s the reason wide shoes slip.
Typical adult women’s measurements land in a fairly wide range: ball width anywhere from 88mm to 108mm, instep circumference from 215mm to 250mm. If your ball measurement is above about 100mm, a standard-width walking shoe is going to be a compromise no matter how soft the upper is. That’s not a small number of people. Foot width varies enormously within the same shoe size, which is why the standard width system is such a blunt tool (the sizing systems themselves were built around length, not girth).
When you’re shopping, pull the insole out of the shoe if it comes out. Measure its width at the widest point. You want roughly 6mm to 10mm more than your foot measurement at the ball, not 2mm. Less than that and the upper has no room to flex without pressing on the joint.
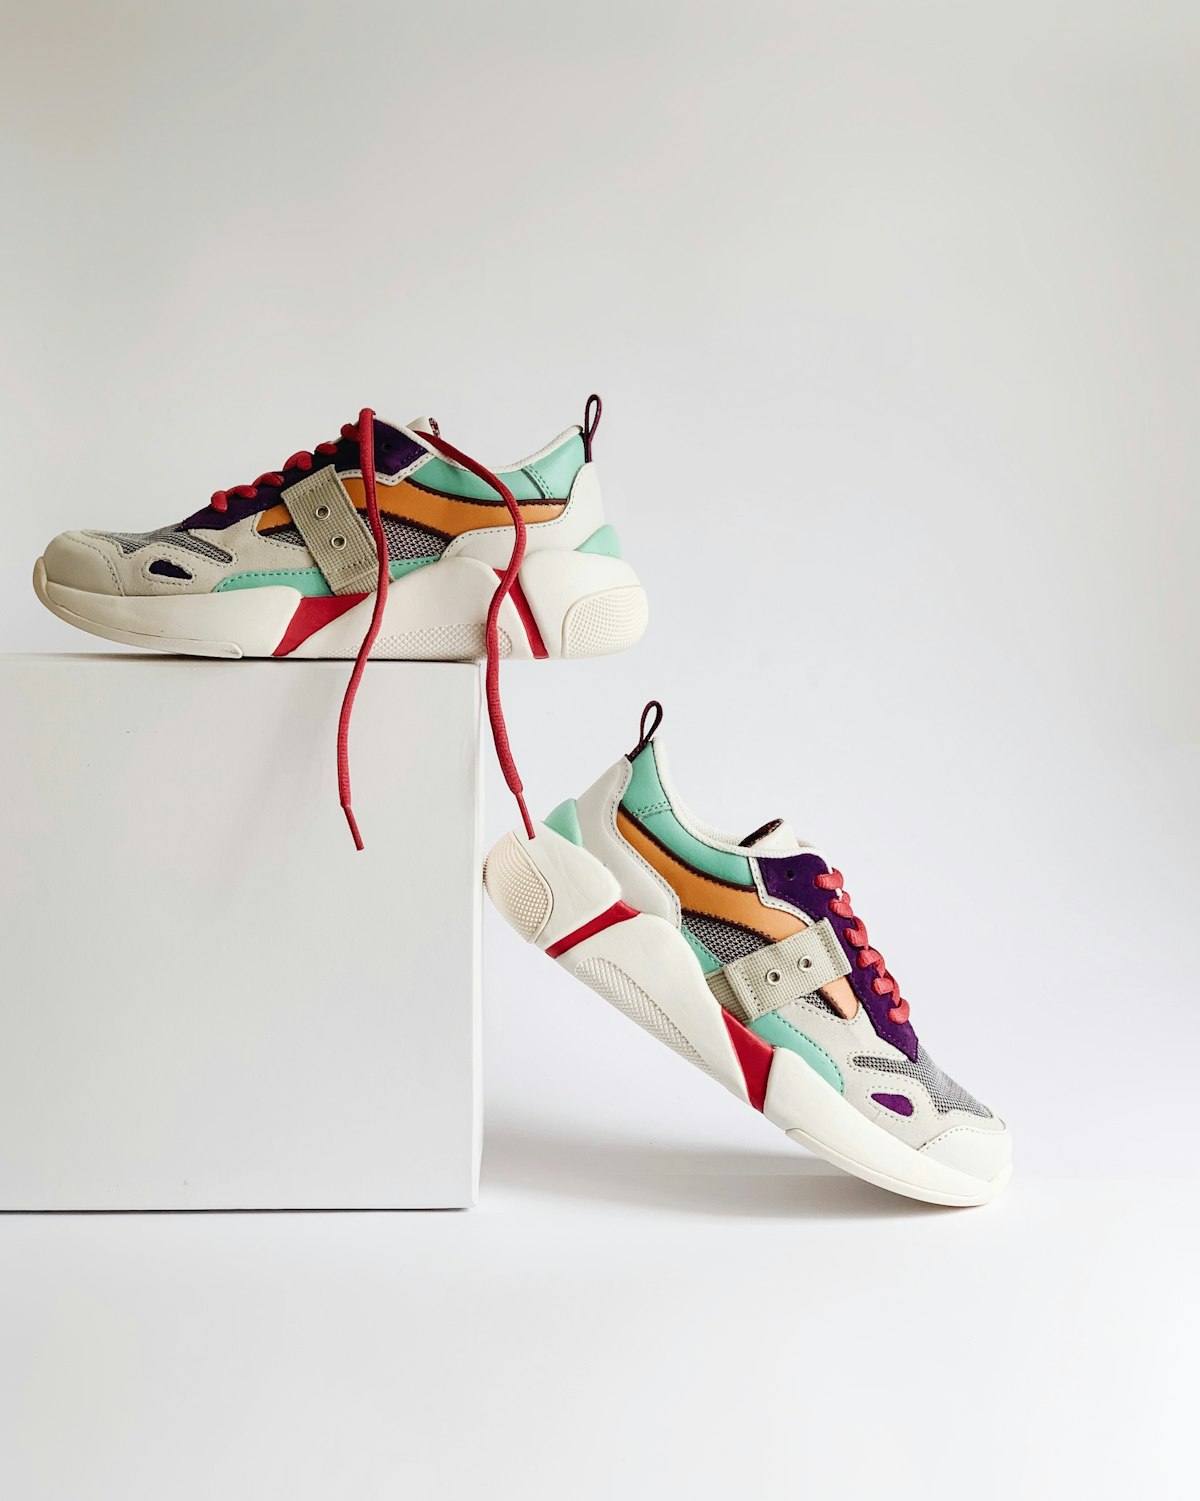
Where the extra width actually goes
This isn’t a single adjustment. It’s a set of last changes, and different brands apply them in different places. Three patterns cover most of what’s on the shelf.
Wide at the ball only. The forefoot is built out by 5mm to 8mm, and the heel and midfoot stay standard. This suits a foot that’s broad across the joints with a normal heel. It’s the most common way to make a wide shoe, because it needs the least new tooling.
Wide through the whole last. Ball, waist and heel all scale up. Better for a genuinely broad foot, worse for anyone with a narrow heel, who will now walk out of the shoe at the back.
A roomy toe box over a standard waist. Common in walking and hiking shapes. The shoe looks generous and feels generous at the front, and the squeeze lands at the fifth metatarsal, right where the upper meets the sole. If you get a hot spot there after 40 minutes, this is why.
There’s a test you can run in ten seconds with your thumb. Press down on the upper just behind the little toe joint, then press in the same spot on the other side behind the big toe joint. If the material gives the same amount on both sides, the width was added evenly across the forefoot. If one side is tight, the last was widened asymmetrically, and the pair will push your foot inward all day.
The other thing to check is the sole platform. On a wide shoe, the midsole should be wider than the upper at the ball, not flush with it. A flush edge means your foot is sitting on the edge of the platform, and every step rolls you outward slightly. That’s the beginning of the ankle ache you’ll blame on something else three weeks later.
A B and a D are 6mm apart, and half a size is not a width
Here’s the number that changes how people shop. Going up one width step, from B to D in US women’s sizing, adds roughly 5mm to 6mm of girth at the ball. Going up half a size adds about 4mm of length and around 1.5mm of width.
So sizing up is a poor substitute for going wide. You gain a little room and you also gain a shoe that bends in the wrong place, because the flex point of the sole is now ahead of the ball of your foot. That mismatch is what makes an oversized shoe feel floppy and still pinch at the side.
A quick comparison of what each move actually buys you:
- Half size up: +4mm length, +1.5mm width. Fixes toe pressure at the front. Doesn’t fix a pinch at the ball.
- One width up (B to D): +5mm to 6mm girth at the ball, same length. Fixes side pressure. Doesn’t fix a short toe box.
- One width up plus half a size: the combination most wide-footed people actually need, and the one shops rarely suggest first.
- Two widths up (B to EE): +10mm to 12mm at the ball. Only makes sense with a measured ball width over about 105mm, and usually needs a thicker sock to take up heel volume.
If a pair comes in only one width, ignore the label and go by the insole measurement. A wide walking shoe with a removable footbed hands you that number for free, which is one reason I’d pick a pair with a removable insole even if I never take it out.
A “wide fit” tag on a fashion pair frequently means a softer upper rather than a bigger last. You get the illusion of room for about a week, then the material settles and the pressure comes back in exactly the same place.
This is also why two women who both wear a 39 can need completely different shoes. The length is the same. The girth is not.
Broad forefoot, narrow heel: the fit nobody designs for
Plenty of women have a foot that’s wide at the front and narrow at the back. It’s a common shape and a difficult one, because widening the shoe to fit the front usually leaves 8mm to 12mm of spare room at the heel.
You can recover some of that with lacing, and it’s worth doing before you give up on a pair.
- Heel lock. Lace to the second-to-top eyelet, then run each lace end back up into the top eyelet on the same side, leaving a small loop. Pull the loops tight. This pulls the heel back into the counter without crushing the forefoot.
- Skip an eyelet. If the top of your foot feels pinched, leave the top eyelet empty on both sides. You lose a little heel hold and gain a lot of instep room.
- Two-zone lacing. Use a separate short lace for the bottom three eyelets and another for the top three. Different tension front and back, which is what a wide-forefoot foot actually needs.
What lacing can’t fix: a heel that’s more than about 10mm too wide, or a heel counter that’s too soft to hold anything. If you can slide two fingers down the back of the shoe while it’s laced, no knot will save it. That pair goes back.
One honest limitation of wide walking shoes in general: the ones built for a broad forefoot often have a stiffer midsole to stop the shoe from twisting, and that stiffness takes longer to soften. Expect 20km to 30km before the flex point feels like yours. If you need something that feels broken in on day one, look at a mesh upper with a softer EVA midsole, like the soft-sole mesh walking pair, and accept that the lining will pack down faster than leather would.
Five things to put back on the shelf
Most bad wide-shoe purchases are visible before you try them on. These are the shapes and constructions I’d walk past.
A pointed toe on a wide last. The taper eats 10mm to 12mm of usable width at the front, which cancels out the widening. A round or square toe keeps the room you paid for.
Stiff synthetic overlays across the ball. Run your thumb along the side of the shoe. If there’s a hard plastic panel under the mesh right where your little toe sits, that panel will not stretch. Mesh around it will. The pressure point stays.
A toe box under about 25mm deep. Measure from the insole to the underside of the upper at the big toe. Under 25mm and your toes will rub the top of the shoe on every push-off, especially if you have a high instep.
Elastic gussets instead of laces. They look forgiving and they’re fixed. You can’t loosen them at 3pm when your feet swell, and you can’t tighten them for a hill.
A glued-in insole. If the insole doesn’t lift out, you can’t swap it for your own orthotic, and you can’t measure the actual interior width. Both matter more on a wide shoe than on a standard one.
Price is not a reliable signal here. Some of the roomiest walking shoes I’ve measured are mid-priced leather pairs with a simple round toe and a stitched sole. Some expensive technical pairs run narrow because the last was designed for a different market. The tape measure doesn’t care what the box cost.
Socks, swelling and the 4pm rule
Your feet are not the same size at 9am and 6pm. Under load and warmth, they can swell by 3% to 5% in volume over a day, which on a 240mm foot is enough to turn a comfortable shoe into a tight one.
So try wide walking shoes late in the afternoon, after you’ve been on your feet. It feels inconvenient. It’s the only way to test the foot you’ll actually have when the shoe starts to hurt.
Wear the socks you plan to walk in. A thin cotton liner and a cushioned merino crew can differ by 3mm in girth, which is half a width step. If you’ll wear the pair with tights in winter and bare feet in July, buy for the thicker option and add a heel grip for the thin months. Most of the complaints I hear about women’s wide walking shoes come down to this: the shoe was tried on barefoot in July and worn with wool socks in November.
A break-in schedule that works for most leather and mesh walking shoes:
- Days 1 and 2: one hour indoors, on carpet. Check for rubbing at the little toe, the heel and the top of the instep.
- Days 3 to 5: a 3km walk on pavement. Note whether the flex point lines up with the ball of your foot.
- Week 2: one longer walk of 8km. This is where a width problem shows up if the shoe has one.
- Week 3 onward: normal rotation. If a hot spot is still forming after 30km, the last is wrong for your foot and no amount of breaking in will change it.
Leather stretches about 3% to 5% across the ball over the first month. Mesh stretches less, maybe 1% to 2%, but it also packs down at the lining. Neither will give you 8mm. Buy the width you need on day one, not the width you hope to grow into.
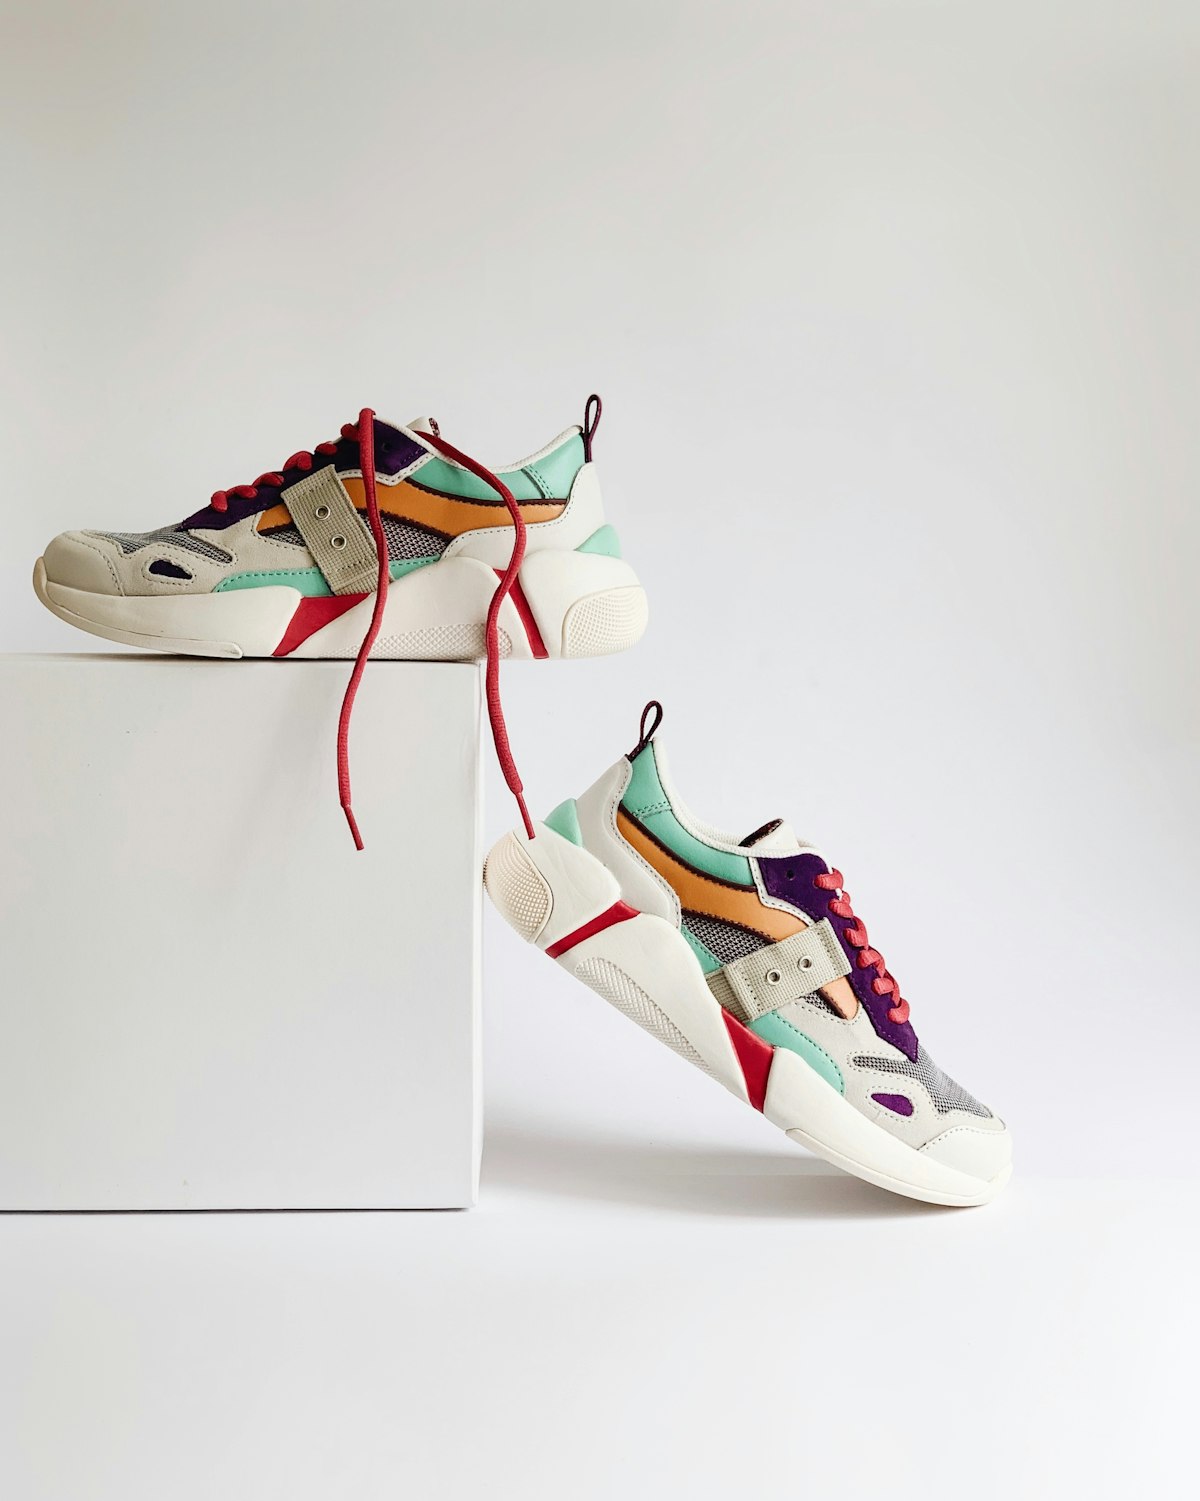
Wide, extra wide, and the barefoot shape that isn’t the same thing
Three labels get mixed up constantly, and they solve different problems.
Wide usually means one step up from standard, so a D instead of a B. You get 5mm to 6mm more girth and the same heel. This is the right choice for a foot that measures 100mm to 105mm at the ball.
Extra wide takes that to 10mm or 12mm. It’s the right call above roughly 105mm, or for anyone who needs to fit a thick insole or an orthotic inside the shoe. Expect to use a heel grip, because the back of the shoe grows along with the front.
Barefoot or foot-shaped shoes take a different approach. They don’t just add width, they change the outline, so the toe box is as wide as the ball and the shoe doesn’t taper at all. The flat-soled board shoes sit closer to this shape than a conventional walking last, with a wide platform and very little drop.
Foot-shaped is not automatically better. It’s better if your toes need to spread, which is true for most people with a bunion or a history of Morton’s neuroma. It’s worse if you need side support, because a shoe that wide can’t hold the midfoot firmly without lacing that goes quite high up the instep. The transition also takes time: going from a 10mm drop to a 0mm drop on a 6km daily walk will make your calves complain for a fortnight.
If a bunion is the reason you’re shopping, the shape of the upper matters more than the width number, and the pressure point is usually the joint itself rather than the whole forefoot (what a bunion actually is, and the NHS page is a decent plain-language version). Look for a soft, single-panel upper over the joint with no stitching line running across it.
What I’d avoid is buying a foot-shaped shoe a full size too long to get width. That’s the most common mistake in this category. You end up with a shoe that’s 15mm too long, which means your arch never sits over the arch support and your heel slides forward on every step. Buy the length that matches your foot and let the shape do the widening.
The ten-minute shop test, then the carpet test at home
In the shop, do this in order and don’t skip the last step.
Stand up with both shoes on, unlaced. If your foot slides forward and the heel lifts, the shoe is too long. Lace them properly and stand with your weight even. You want a thumb’s width, roughly 10mm, between your longest toe and the front of the shoe when standing, because your foot moves forward when you walk.
Then walk 20 paces. Listen for the heel. A wide shoe that’s too wide at the back makes a flapping sound that no sock will fix. Then squat, then stand on your toes. The upper should crease across the ball, not dig into the top of your foot.
Finally, press the side of the shoe against your little toe with your hand, simulating a step. If you can feel the edge of the insole under the toe joint, the platform is too narrow for your foot regardless of what the label says.
At home, keep them on carpet for the first hour, and keep the box and the receipt. Check in a mirror from the back: if the heel counter is visibly pushed outward on one side, the shoe is being overloaded at that point and it will break down there first.
If it’s borderline, the answer is usually to go up a width rather than a size. Wide walking shoes that fit properly feel slightly roomy at the ball and snug at the heel, not the other way around. Get that relationship right and the 4pm ache stops being a daily event. If you want to see the same logic applied to a colour decision, the white pair worn at 8°C is a useful read on how a light shoe behaves in a real winter. If your issue is more about how the foot rolls than how wide it is, the flat-feet buying notes cover the stability side of the same decision, and the rest of the walking shoes collection is where to compare lasts once you know your numbers.
Start with a tape measure and an insole, not with a size chart. The pair that fits is the pair whose widest point matches yours, wherever the brand decided to put it.
